edddison plugin for Autodesk Navisworks
Getting Started#
What you need
- Autodesk Navisworks Simulate or Manage (2016 or higher)
- Navisworks Project Demo Project
- The edddison software - Please login on edddison.com to access this link
- Edddison Navisworks plugin - Installs automatically with the edddison software
Install and configure edddison plugin#
Install edddison plugin#
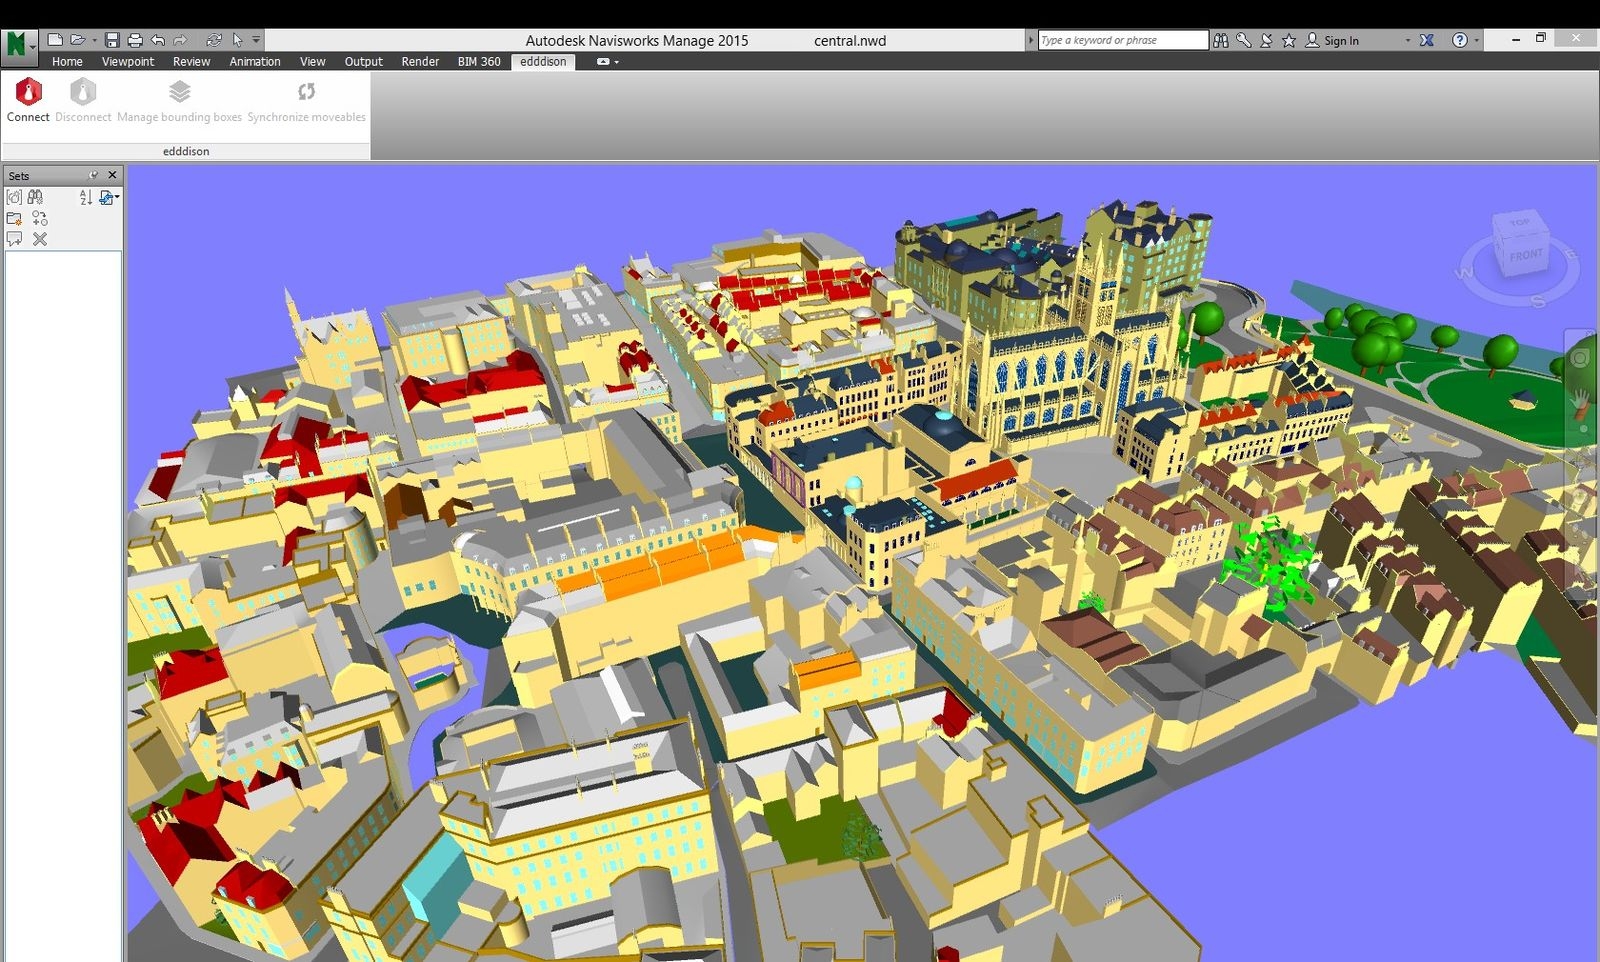
Plugins are called add-ins in Naviswork. The edddison add-in is installed automatically during the setup process of the edddison software.
Create a project in Navisworks#
- Open a Navisworks project.
Note: You can download our demo project on our website
Configure the edddison plug-in#
Start edddison editor#
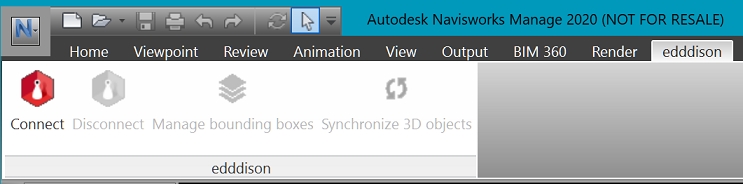
- Go to the edddison tab and press the Connect button.
- Load the edddison license file if needed editor Tutorial - Add License
Note: If you start edddison for the first time it will ask you for your license file. Please load it with "Load License File". For more information on how to get a license please see our Dashboard Tutorial
- Import or create edddison configuration file editor Tutorial - Open Configuration
Note: In the Demo-project-folder you can find a ready-to-import configuration file. For this tutorial we recommend to create a new configuration file.
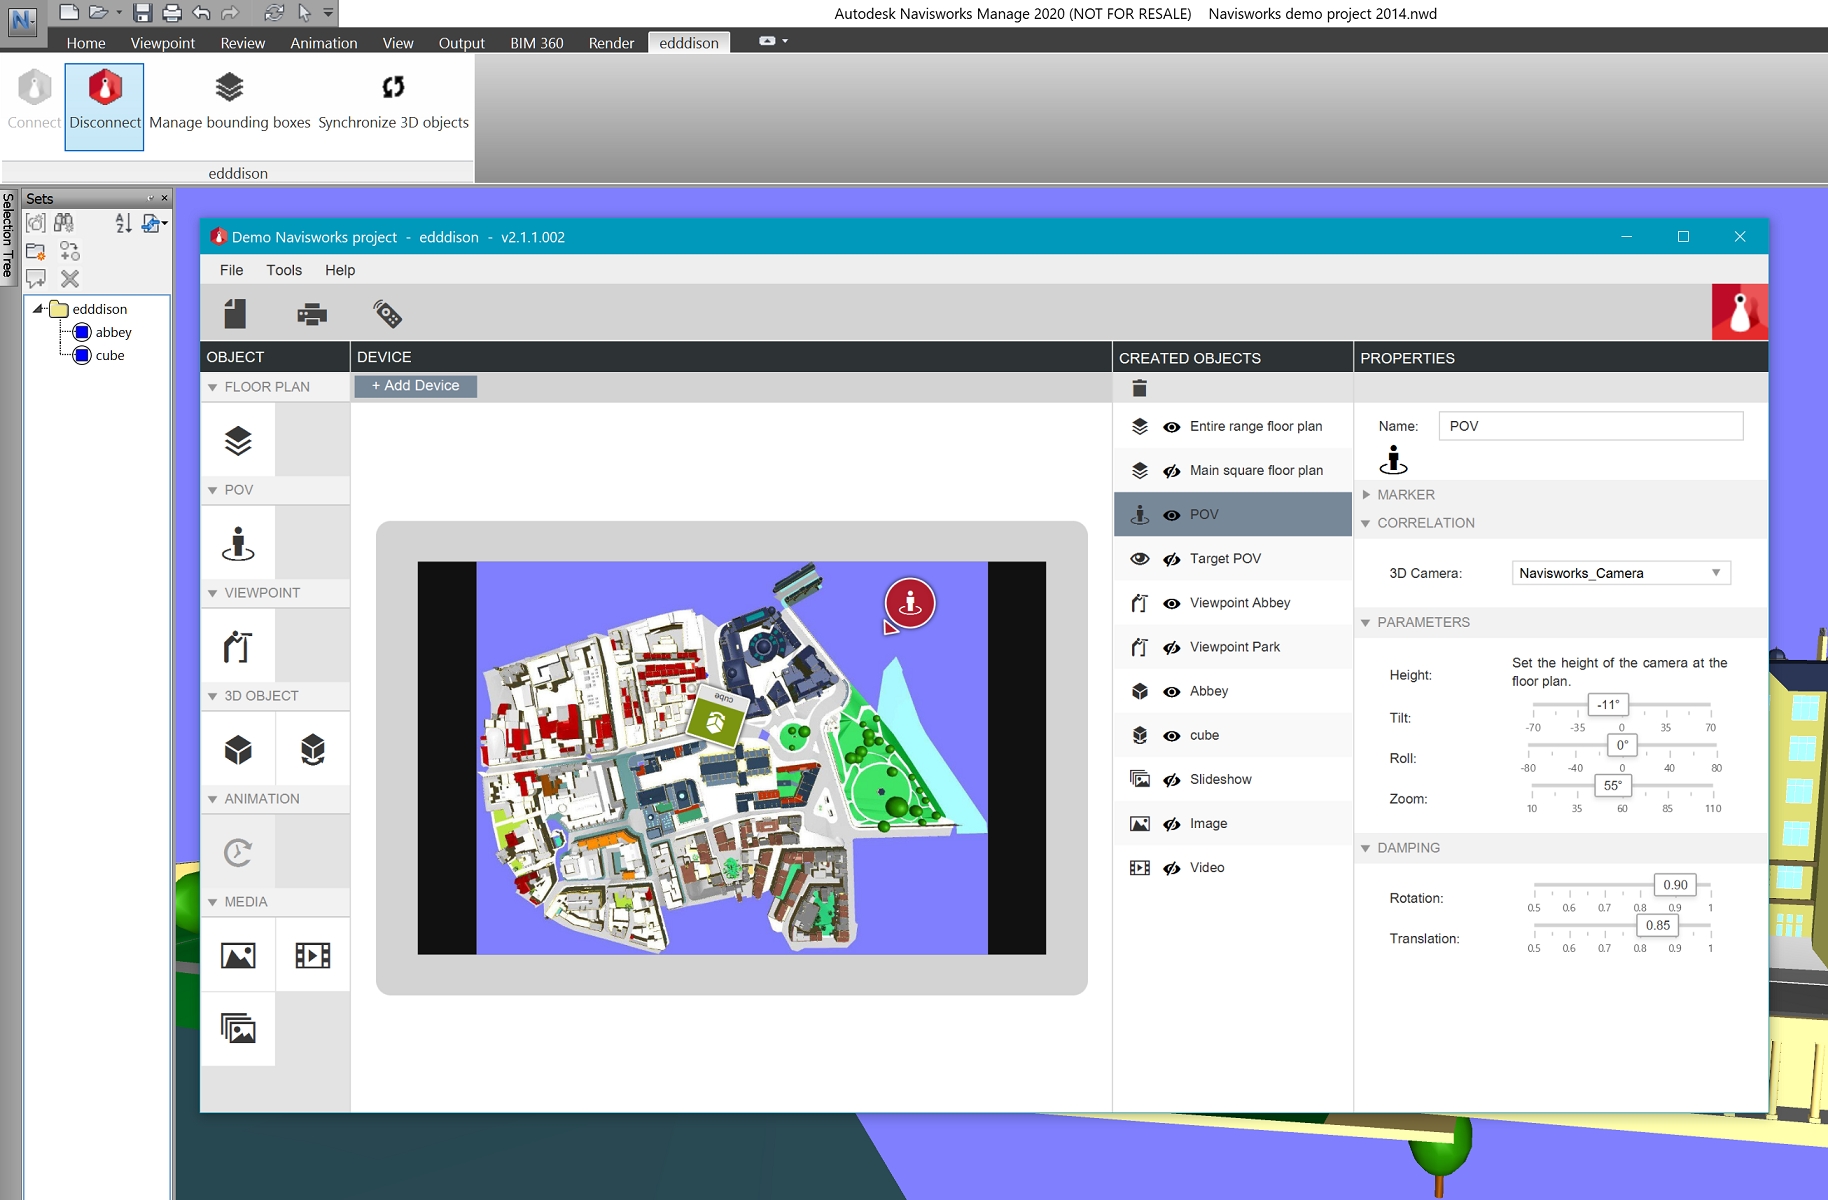
Navisworks is now connected with the edddison editor. You can minimize the editor-window and follow the tutorial!
Lets create our first floor plan!
Configuring your scene#
For edddison to work you need the following:
- Define the walk-able areas in your project with bounding boxes and floor plan images.
- Optional: Define 3D objects
Manage floor plans - (walk-able areas)#
To define the walk-able areas in your project, create bounding boxes and floor plan images.
Set up the bounding box#
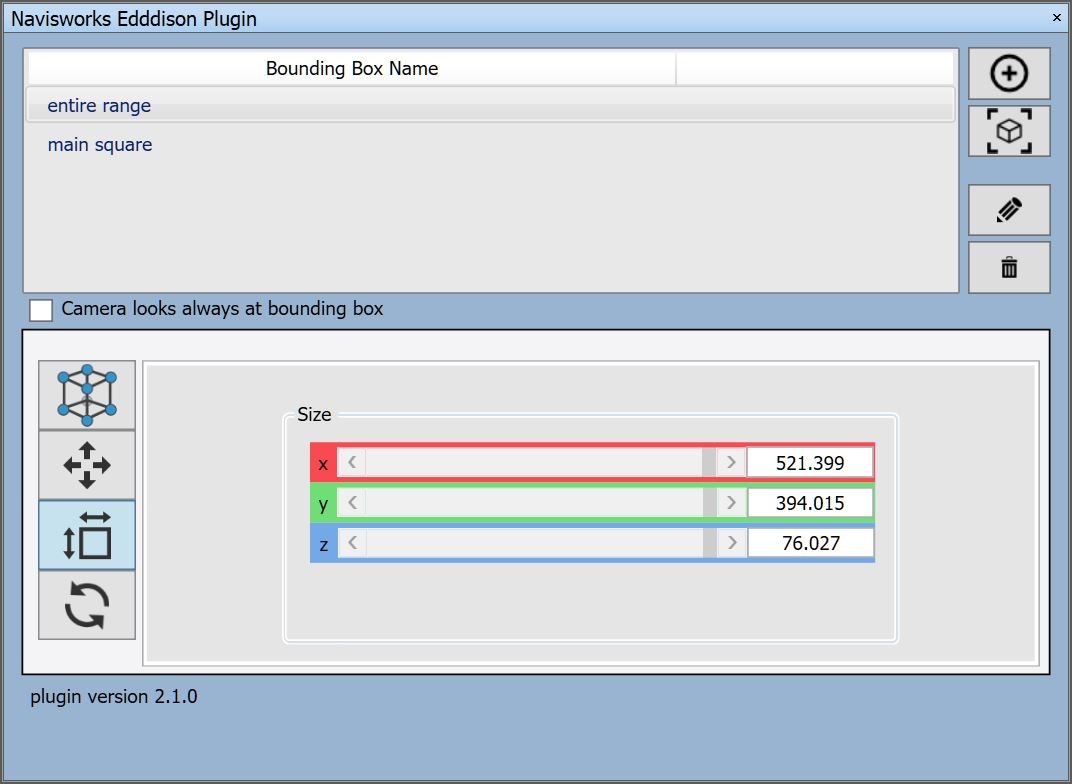
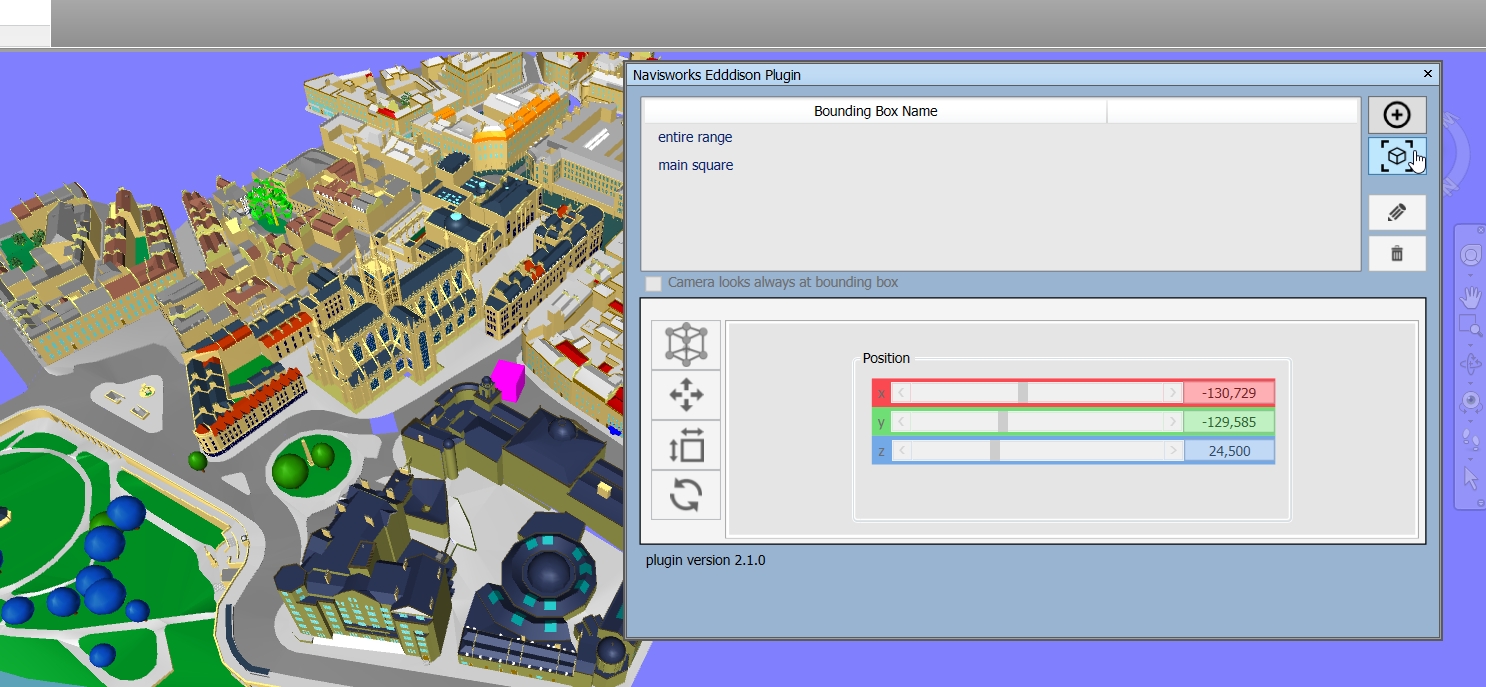
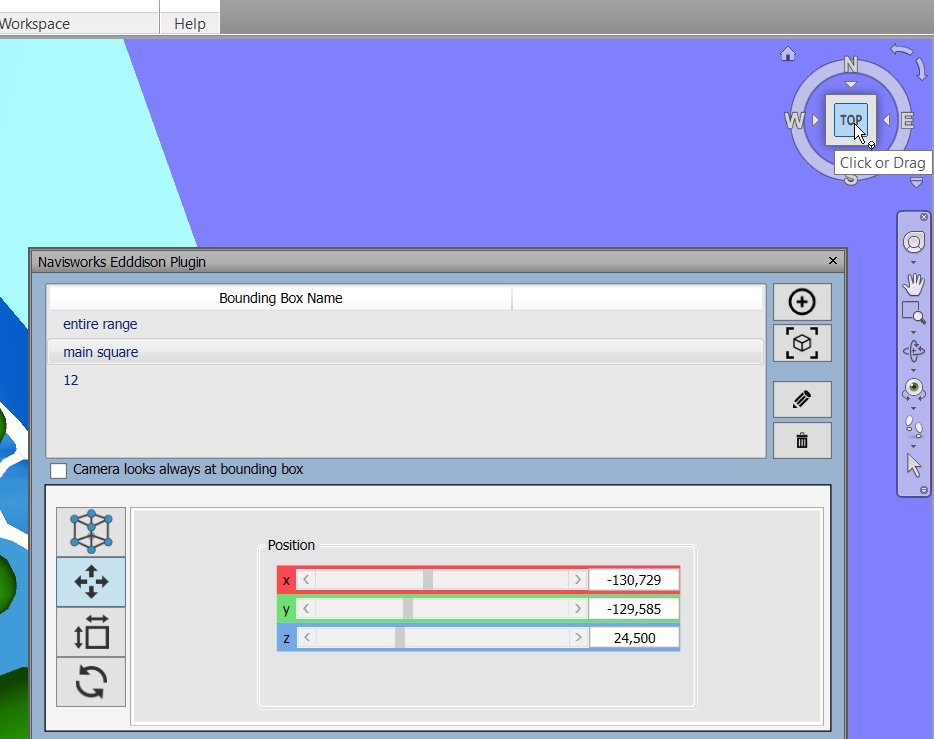
Create new bounding box#
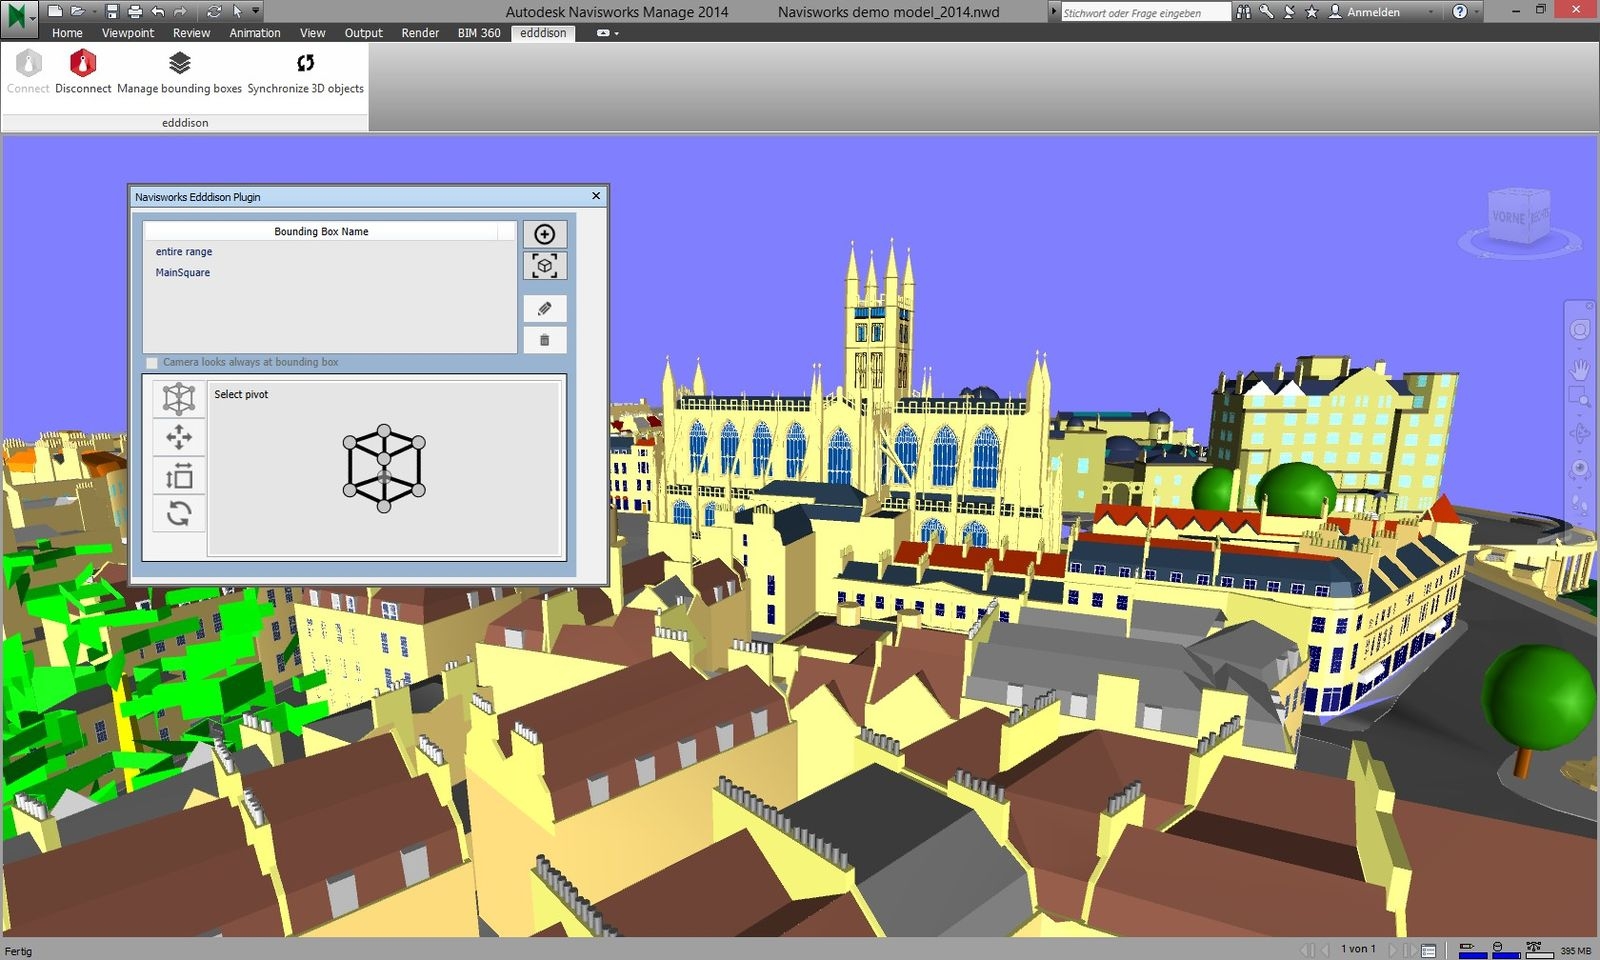
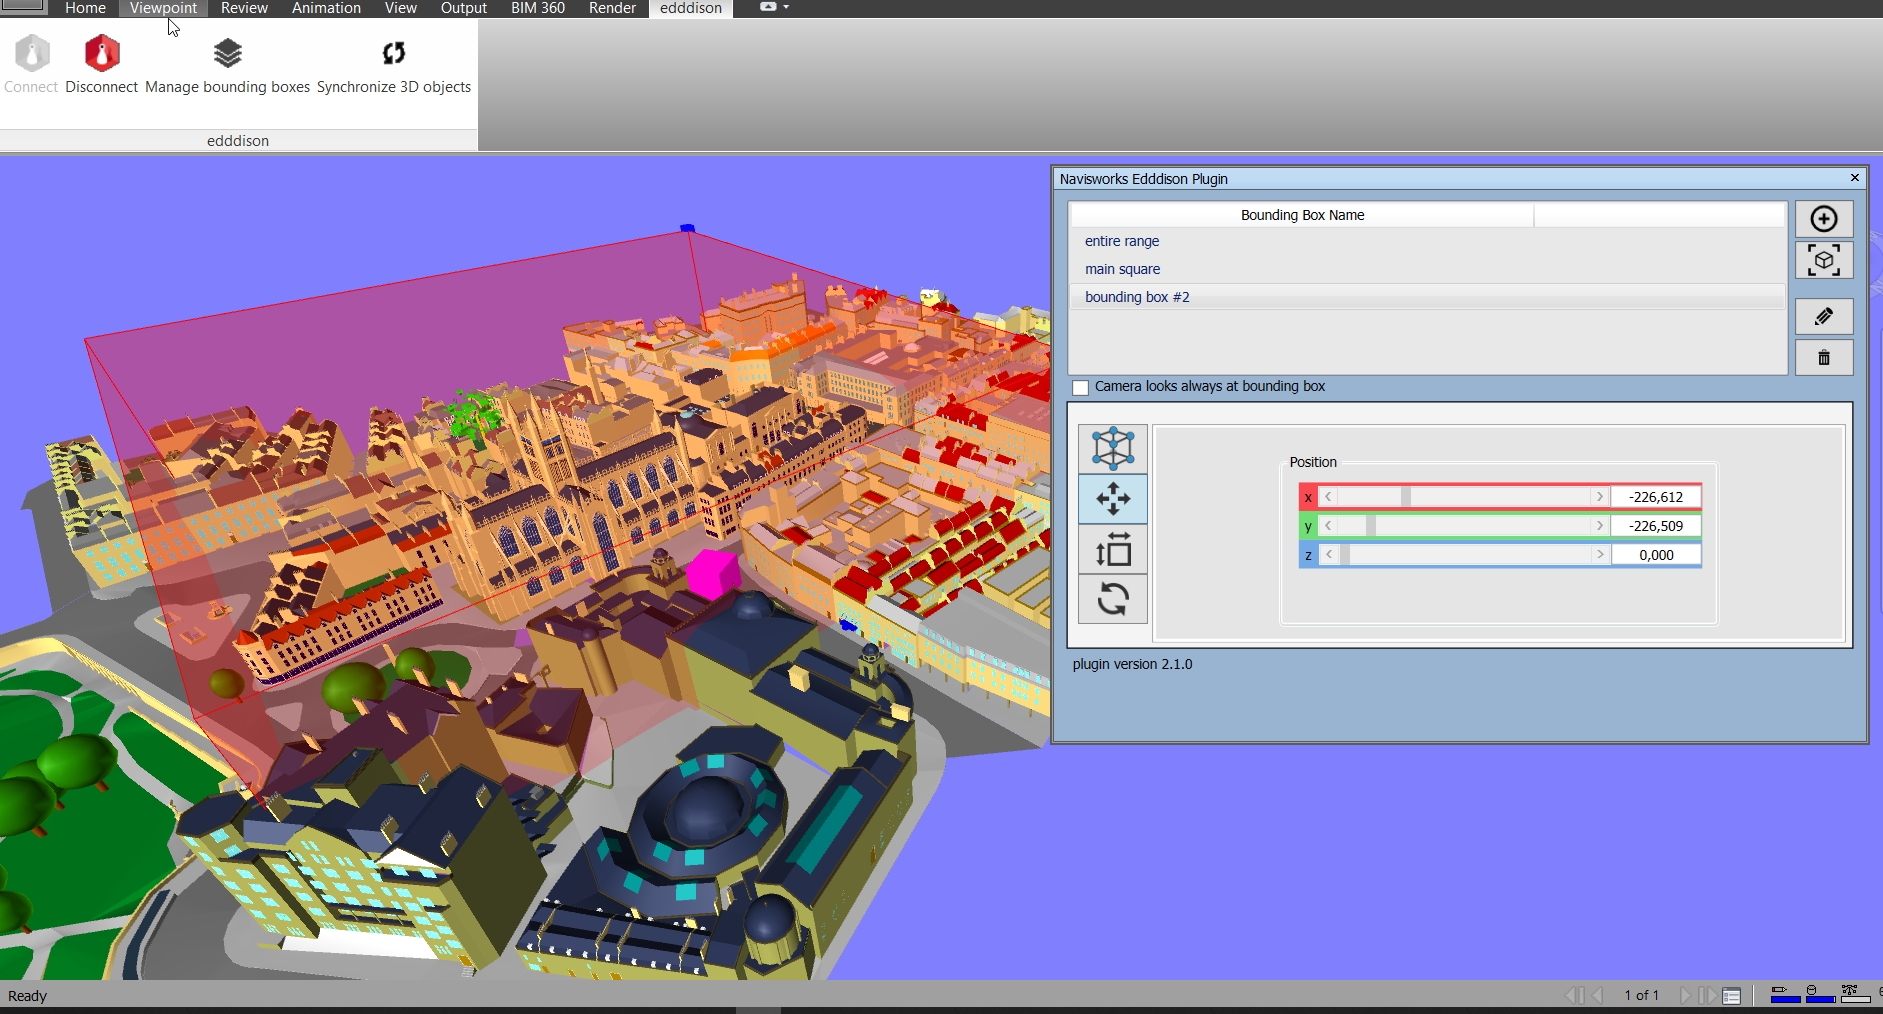
- Open the edddison plugin window. Click on the Manage Bounding Boxes button in the In the edddison-toolbar (ribbon)
- Create a new bounding box: Click the following button.

- After choosing a name, a new bounding box will appear at point 0,0,0 in the scene.
- Optional: To find the newly created bounding box easier, check the Camera looks always at bounding box. The Navisworks view will then always look at the selected bounding box.
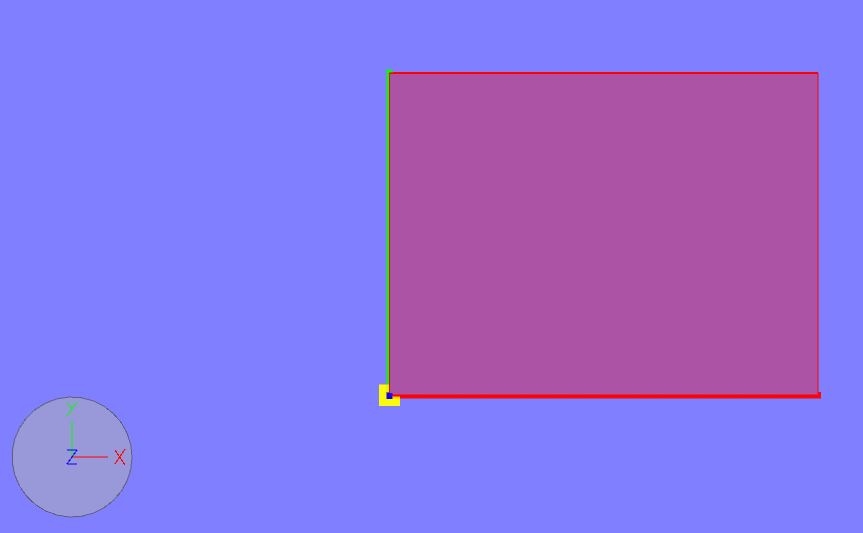
- Edit the position, size, rotation and the pivot point of your new bounding box. The yellow square marks the pivot. On the playground of the edddison editor or controller, this is the left bottom corner.
Create with a selection of objects#
You can also create a bounding box using a selection of objects. The bounding box will then be created around your selected geometry.
- Select the objects you want to be inside the bounding box.
- Click the following button.

- In the Popup name your bounding box and click ok.
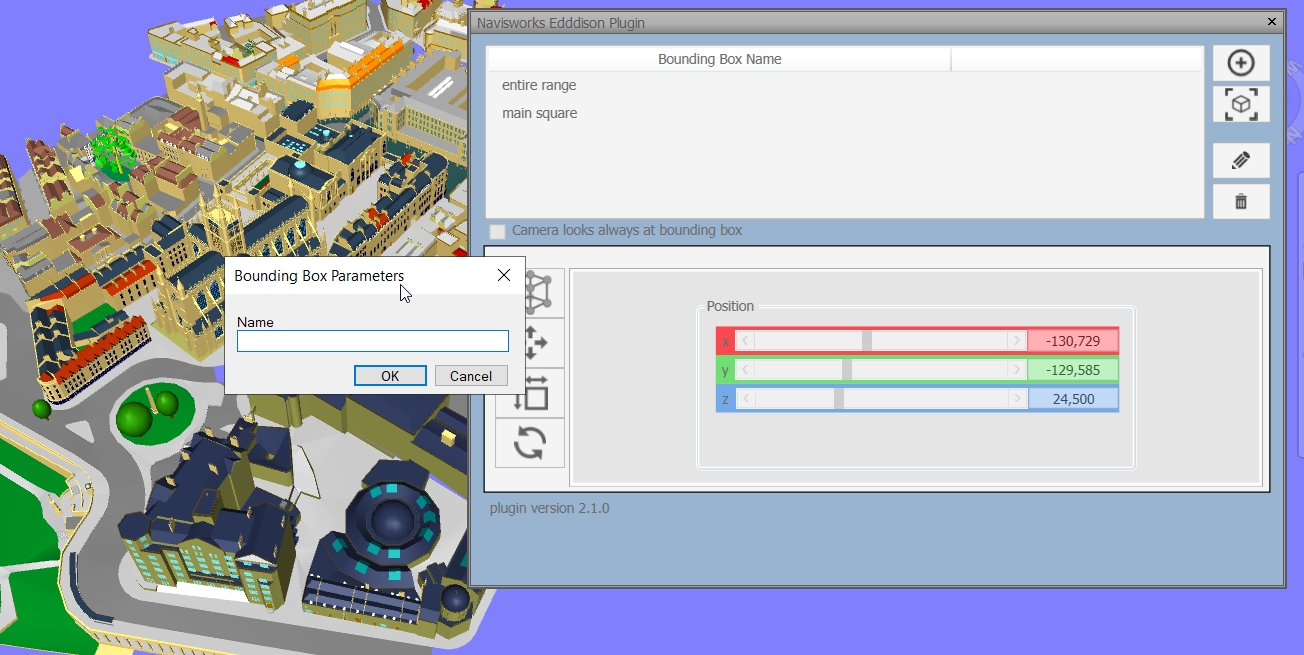
Note: If you can't see the Bounding-Box-Naming-window popup, please left-click one time into the Navisworks view.
- Edit the position, size, rotation and the pivot point of your new bounding box.
Select and show bounding boxes#
To be able to see bounding boxes in Navisworks (red volumes), you need to have the Manage bounding boxes-dialog open. Here you can switch between your bounding boxes by clicking on them. To hide them close the Manage bounding boxes-dialog.
Create floor plans#
A floor plan (2D top view) is needed for easy and precise orientation in the 3D view.
- Open the Manage bounding boxes-dialog open and select your bounding box to see it red highlighted.
- Select the top view and focus on the bounding box.
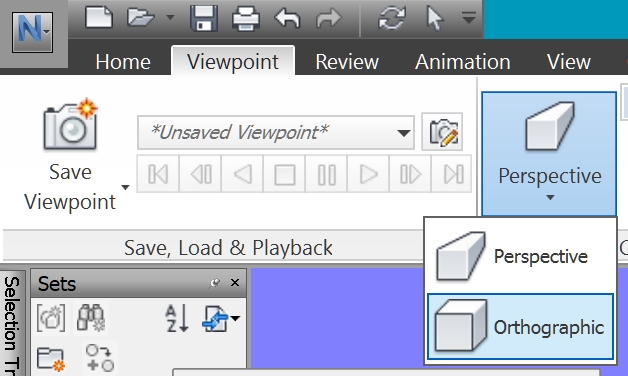
- Optional: Enable Orthographic view in the viewpoint-settings
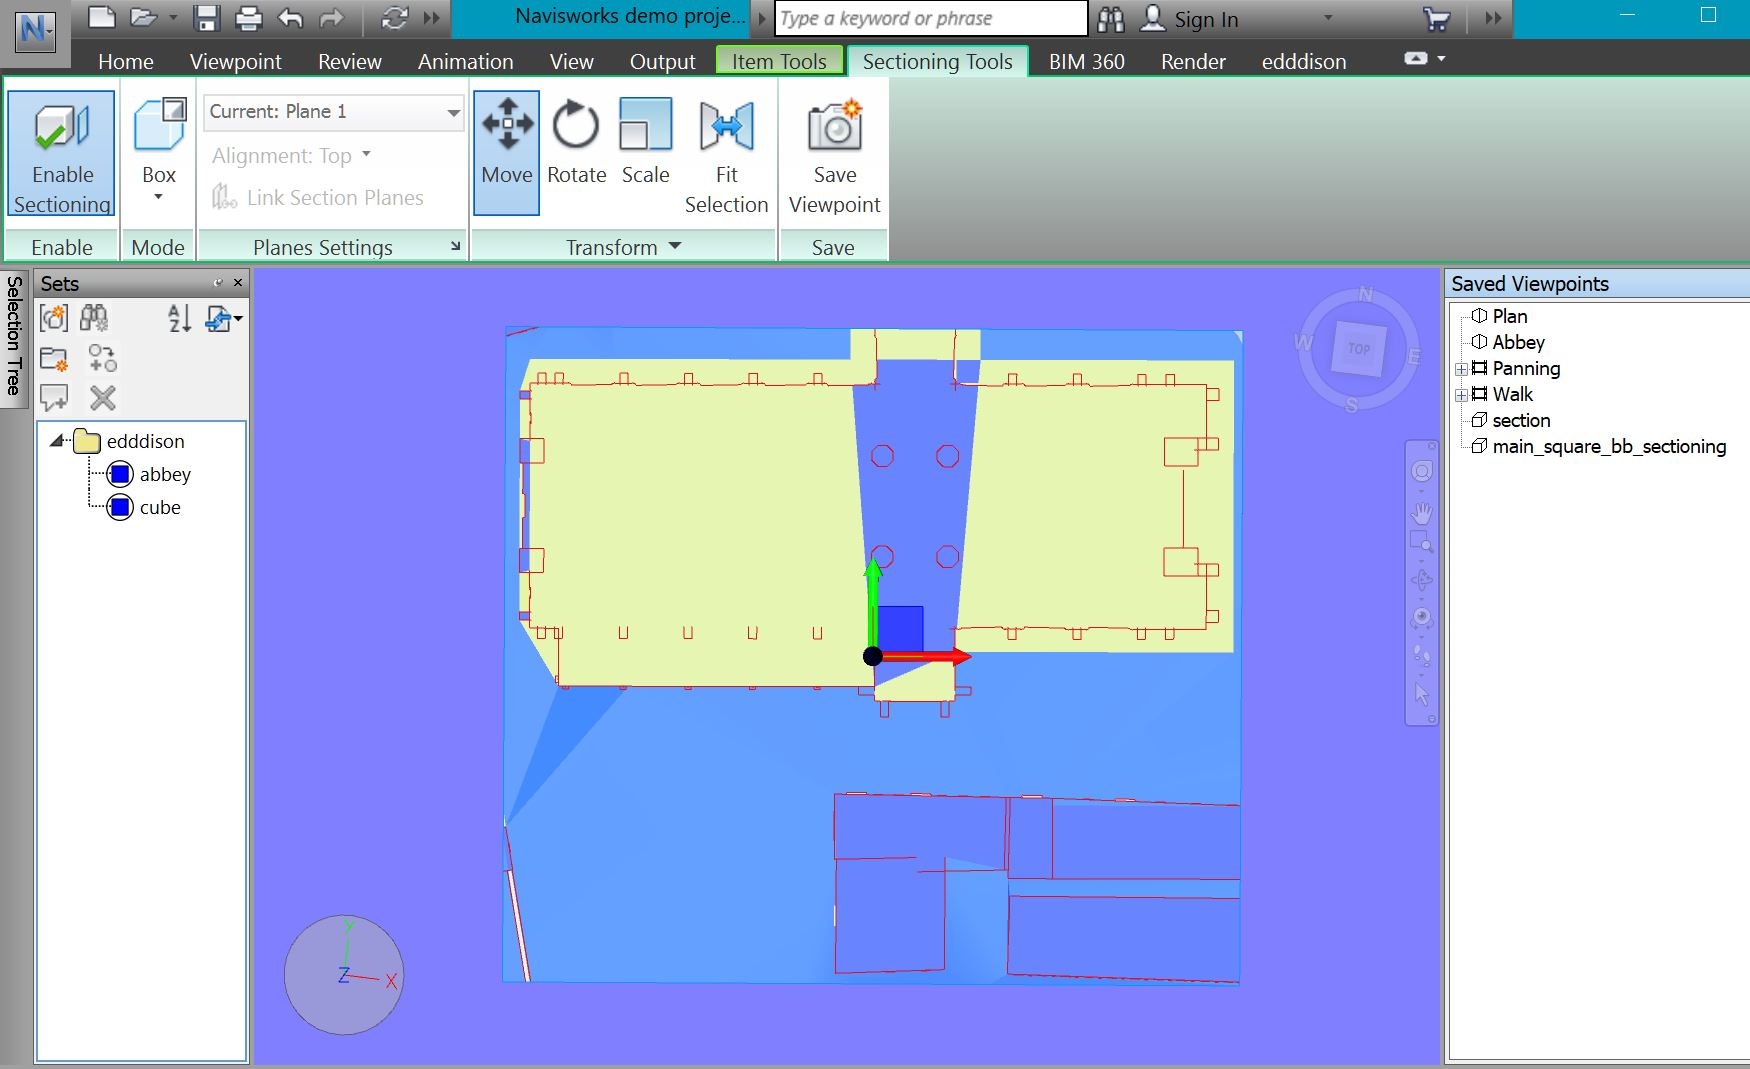
- Enable the Navisworks Sectioning Tools in Viewport ribbon.
- Align the sectioning planes to the planes of the bounding box.
- Optional: Move the sectioning top plane near the ground to get a floor plan like view.
- Save this settings with Save Viewpoint button of the Sectioning Tools. So you can restore it later.
- Deselect the edddison bounding box. Close the Manage bounding boxes-dialog and select an other object.
- Create an image (.jpg, .jpeg or .jpg) and use it as a floor plan. You can do this with a screen-capture software like the in-built Snipping Tool of Windows. To learn more about the Snipping tool click here Navisworks also has a built-in Image-export-option, but you will have to trim it later to only show your bounding box area.
Note: The image has to have exactly the same aspect ratio (size) as the corresponding bounding box.
Manage 3D objects (optional)#
A 3D object linked with edddison can:
- be moved around in edddison
- switched on or off
- be a target for the POV-Camera.
All Navisworks objects can be used as movable or stationary objects.
Link the edddison 3D object#
- Create a new folder in the Sets and name it edddison.
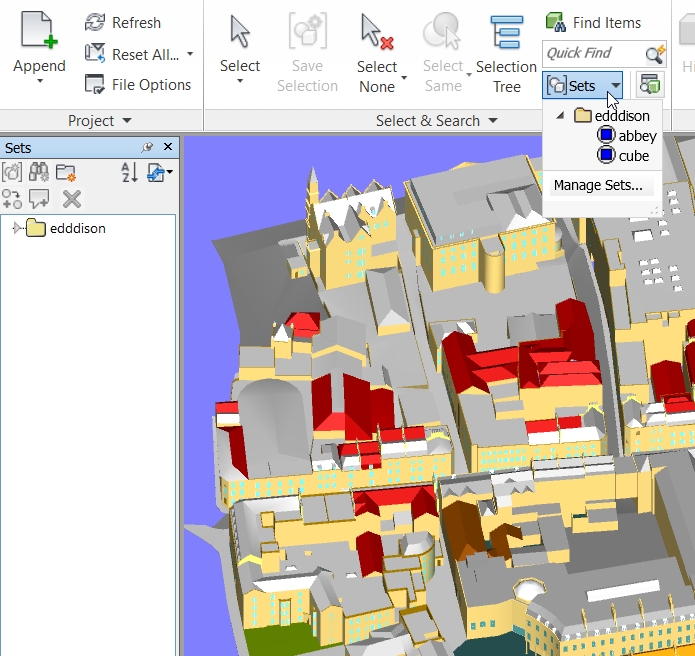
- Select the object directly in the scene or in the Selection tree and drag it into the edddison folder.
- Name the object
Note: The folder has to be named "edddison" in order for the object to work.
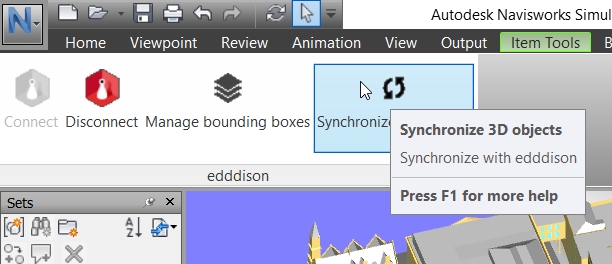
Synchronize 3D objects#
After creating all your 3D objects, you have to synchronize them with edddison.
- Click Synchronize 3D objects
Note: 3D objects have to be synchronized every time you change them.

Run project#
To test your project click the red edddison-button in the edddison toolbar.
You will see the edddison editor-software starting in a separate window.
Please continue to set up your project in the edddison editor-software. Follow the Tutorial Editor
Note: edddison has to be always started inside Navisworks, there will not be a shortcut on your desktop.
Troubleshooting#
The edddison Add-In is not visible in Navisworks after the edddison installation#
Re run the edddison setup with admin rights.
edddison editor is not opening#
- If you dont see the edddison editor opening, see if you installed the Software "edddison editor for Navisworks" correctly. Please login on edddison.com to access this link