edddison plugin for Trimble Sketchup
Getting Started#
What you need
- Sketchup Installation (Make or Pro 2014 or higher) To download older Versions of Sketchup Make visit this Link
- Sketchup Project Demo Project
- The edddison software - Please login on edddison.com to access this link
- edddison sketchup plugin - Extension Warehouse
Note: After Sketchup 2017 Trimble has not continued the free Version "Make" and is only offering a free online Version, which as per 2019 does not allow Extensions to be used. To be able to use edddison please download Sketchup Make 2017 (free) or Sketchup Pro 2014 or higher
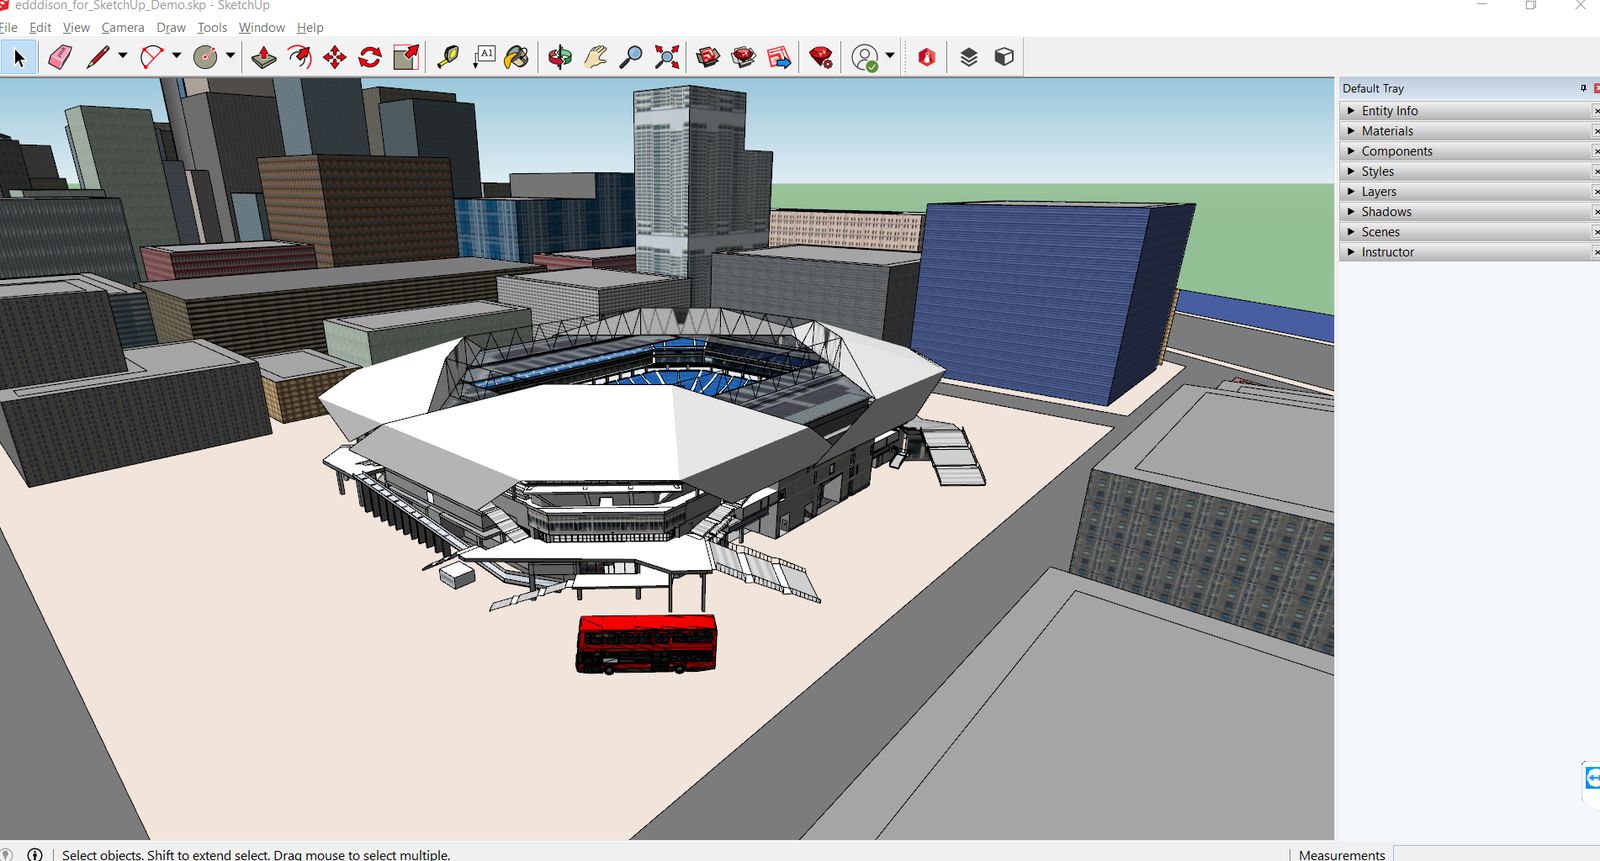
Open your Sketchup project#
Open a new or existing Sketchup project, in which you would like to use edddison.
In this Tutorial we are going to use the edddison for Sketchup Demo Project.
Install and configure edddison plugin#
- Open the Extension Warehouse by clicking Window > Extension Warehouse
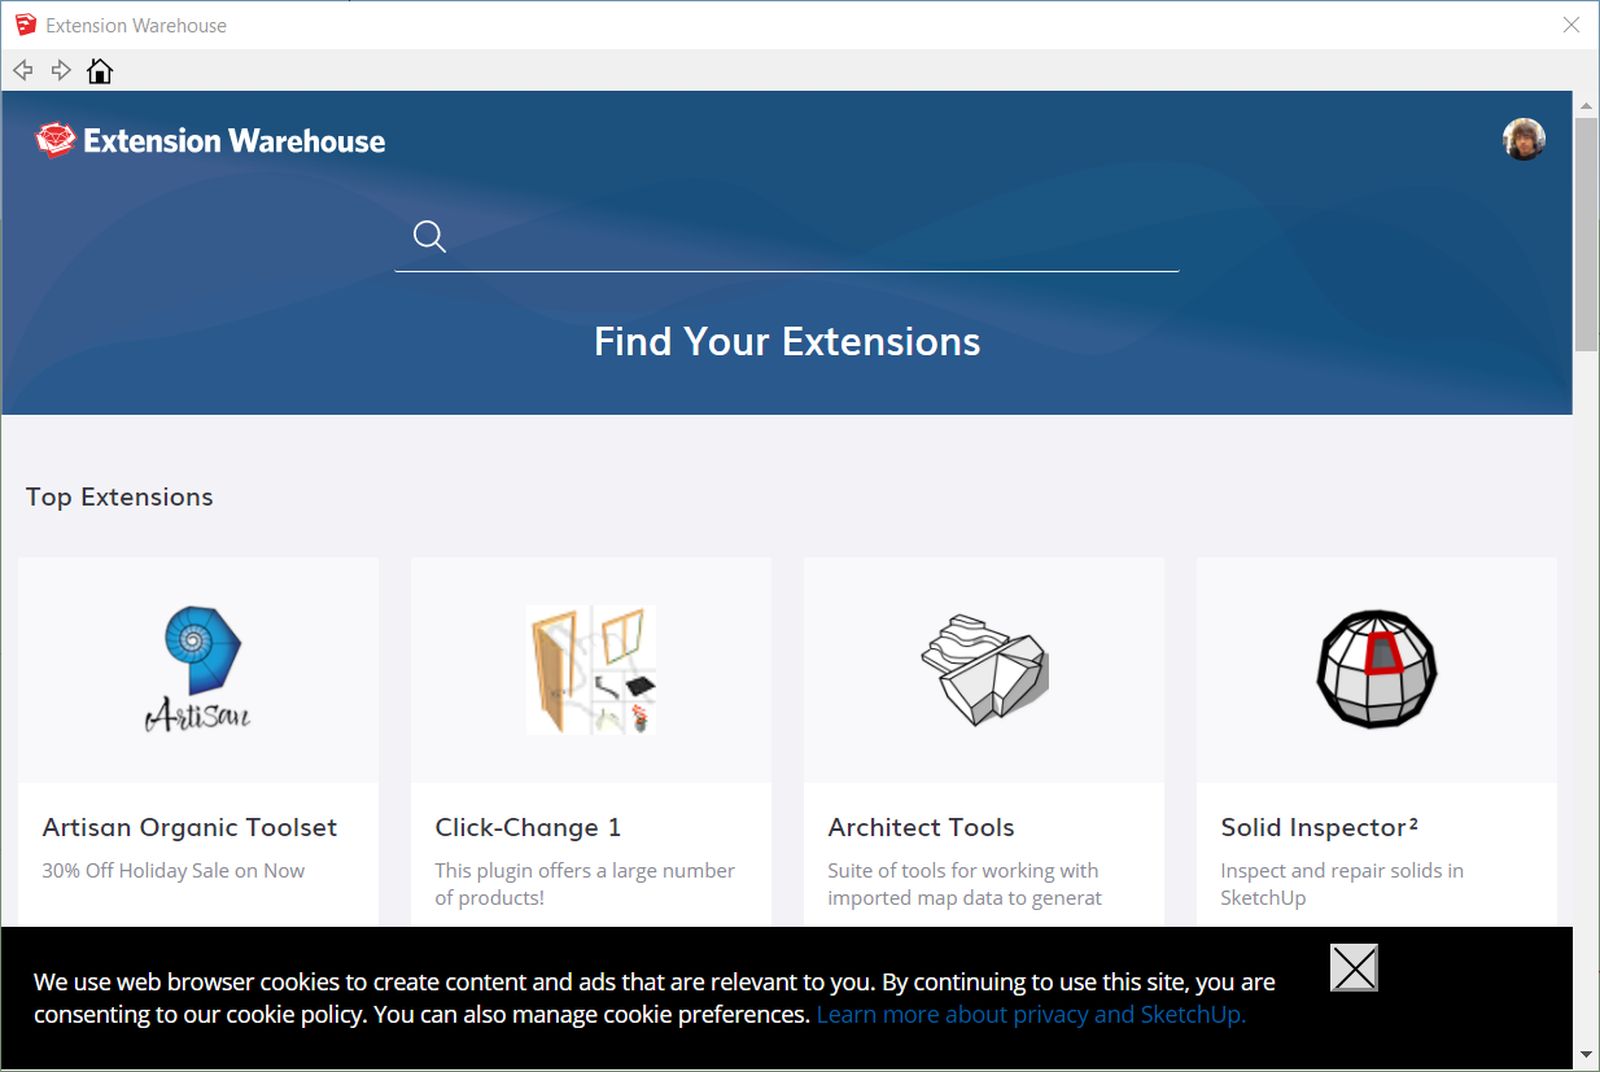
- After signing in, type edddison into the search bar.
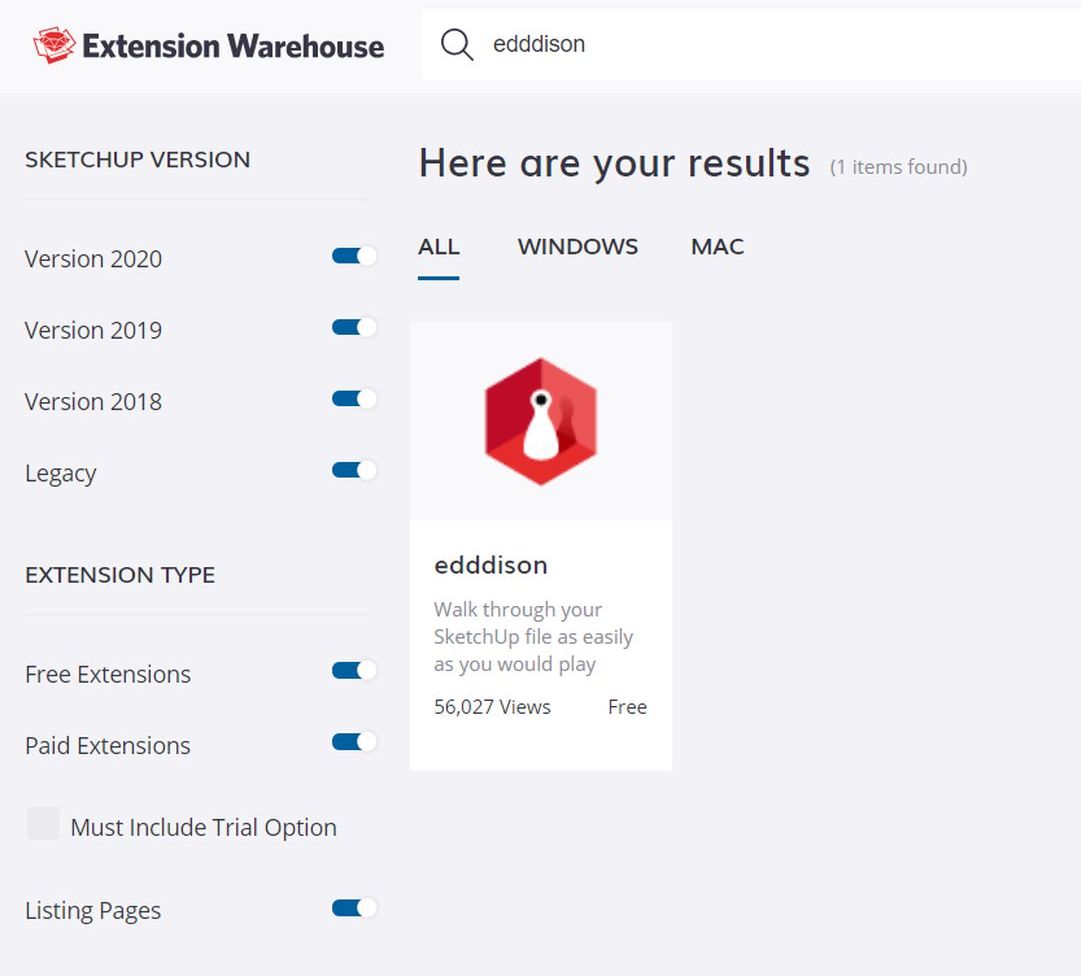
- Afterwards simply click install.
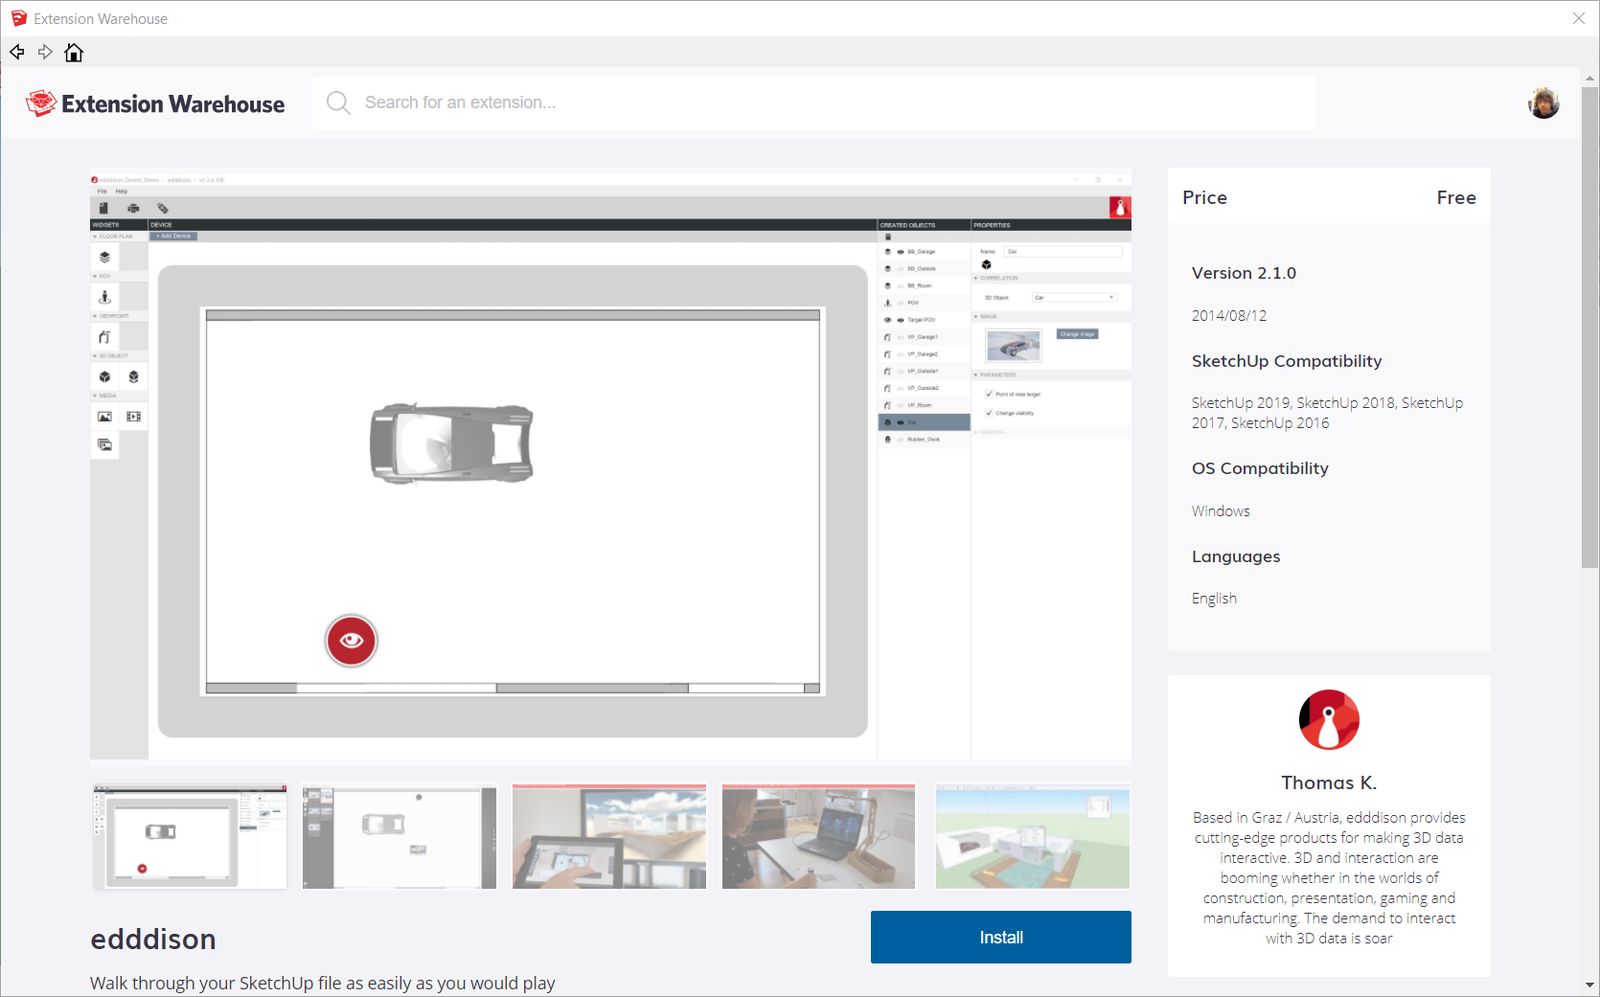
- When asked if you really want to install this extension, click yes.
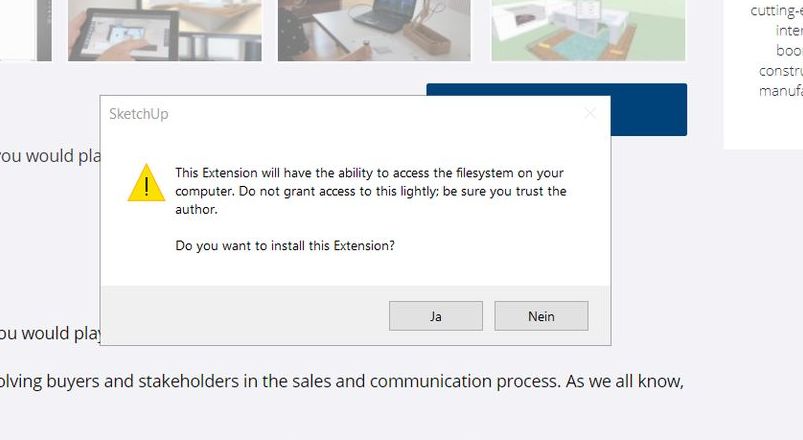
edddison will now be installed inside SketchUp and can be used immediately.
You will find the edddison toolbar in sketchup as soon as you closed the Extension Warehouse.
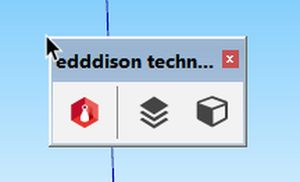

Note: If you can' t find the edddison toolbar immediately, it might be behind the warehouse window.
Lets create our first floor plan!
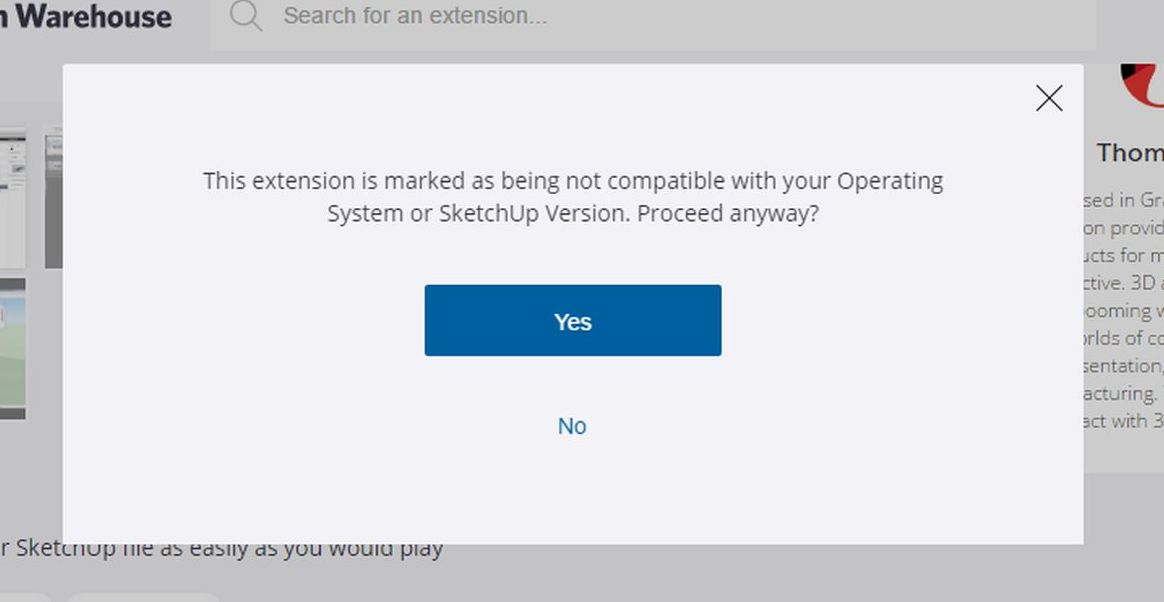
Troubleshooting:
If you should get any of the following two warnings/errors, dont worry! You can always try to install the edddison plugin manually! We will show you how!
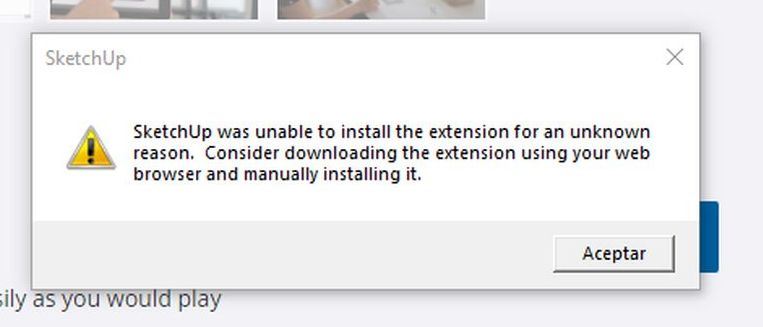
- In your browser go to the Sketchup Extension Warehouse and follow the same steps as before downloading the edddisin plugin. The browser will download a file in .rbz-format
- After the download go to Sketchup and choose Window- Extension Manager
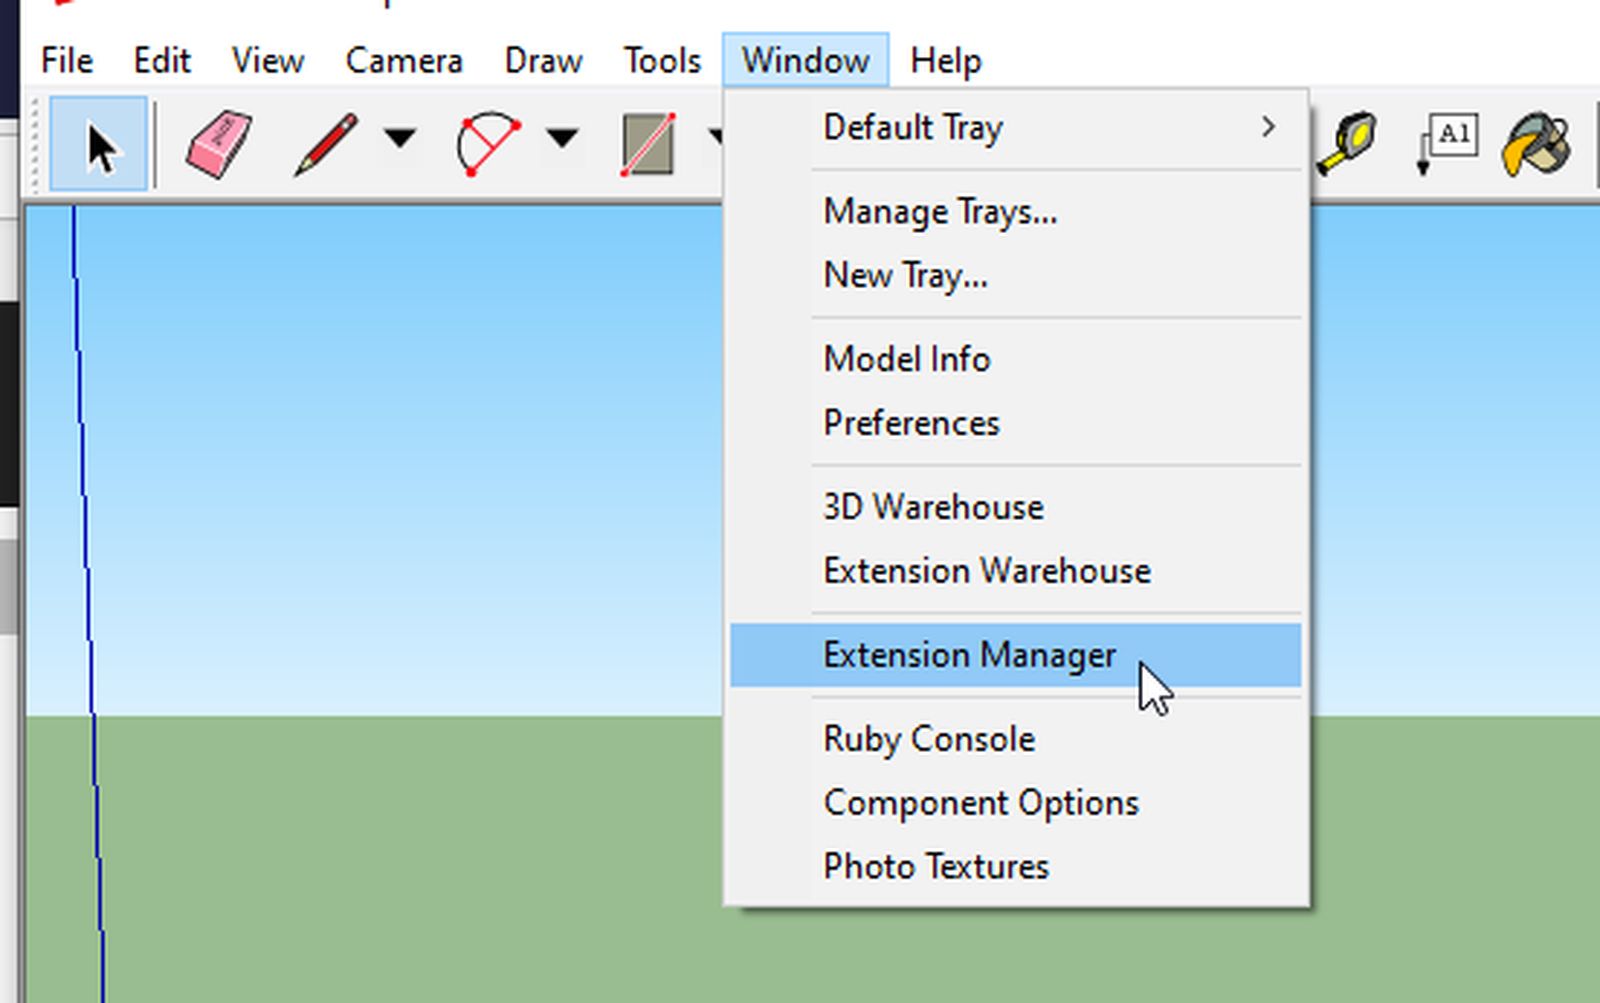
- Click Install Extension and choose the downloaded .rbz file.
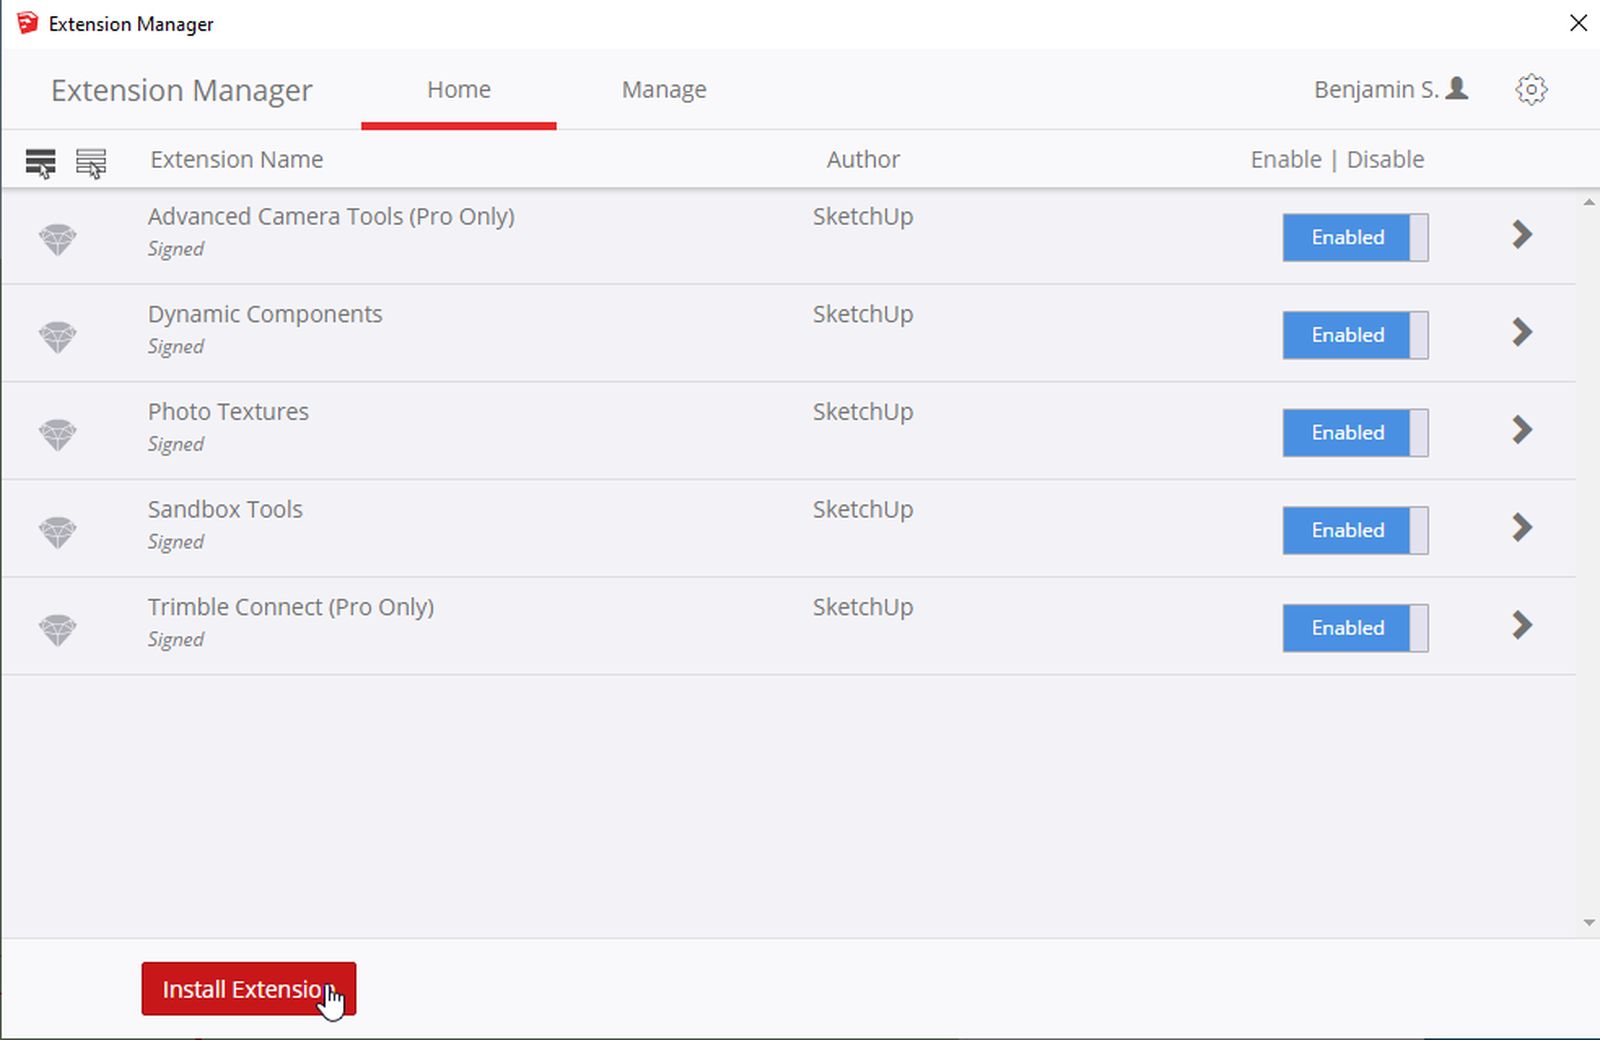
- The edddison toolbar should now be visibile and you can move on with the tutorial!
Configuring your scene#
For edddison to work you need the following:
- Define the walk-able areas in your project with bounding boxes and floor plan images.
- Optional: Define 3D objects
Manage floor plans - (walk-able areas)#
To define the walk-able areas in your project, we will create bounding boxes and floor plans.
Set up the bounding box#
There are two ways of creating bounding boxes.
Bounding box - Define size manually#
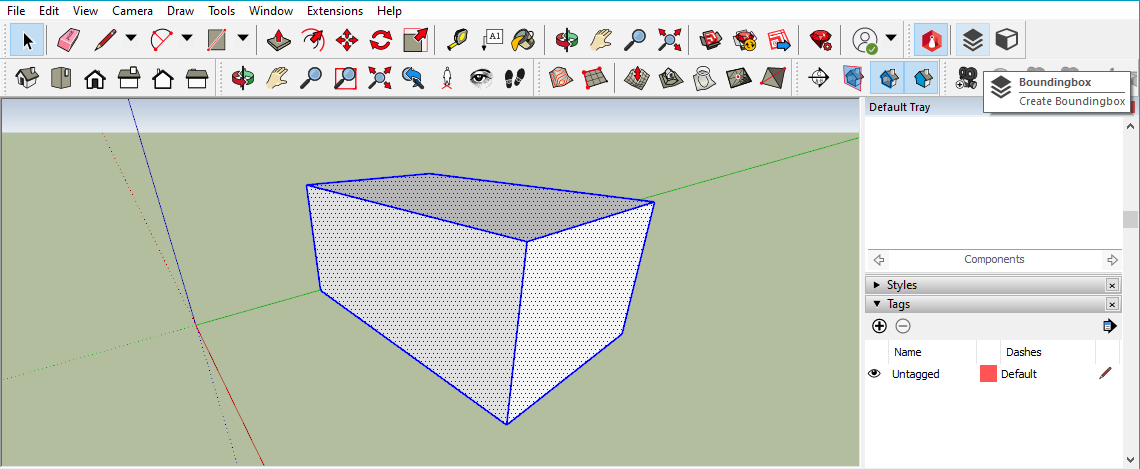
- Select the create boundingbox button in the edddison toolbar.
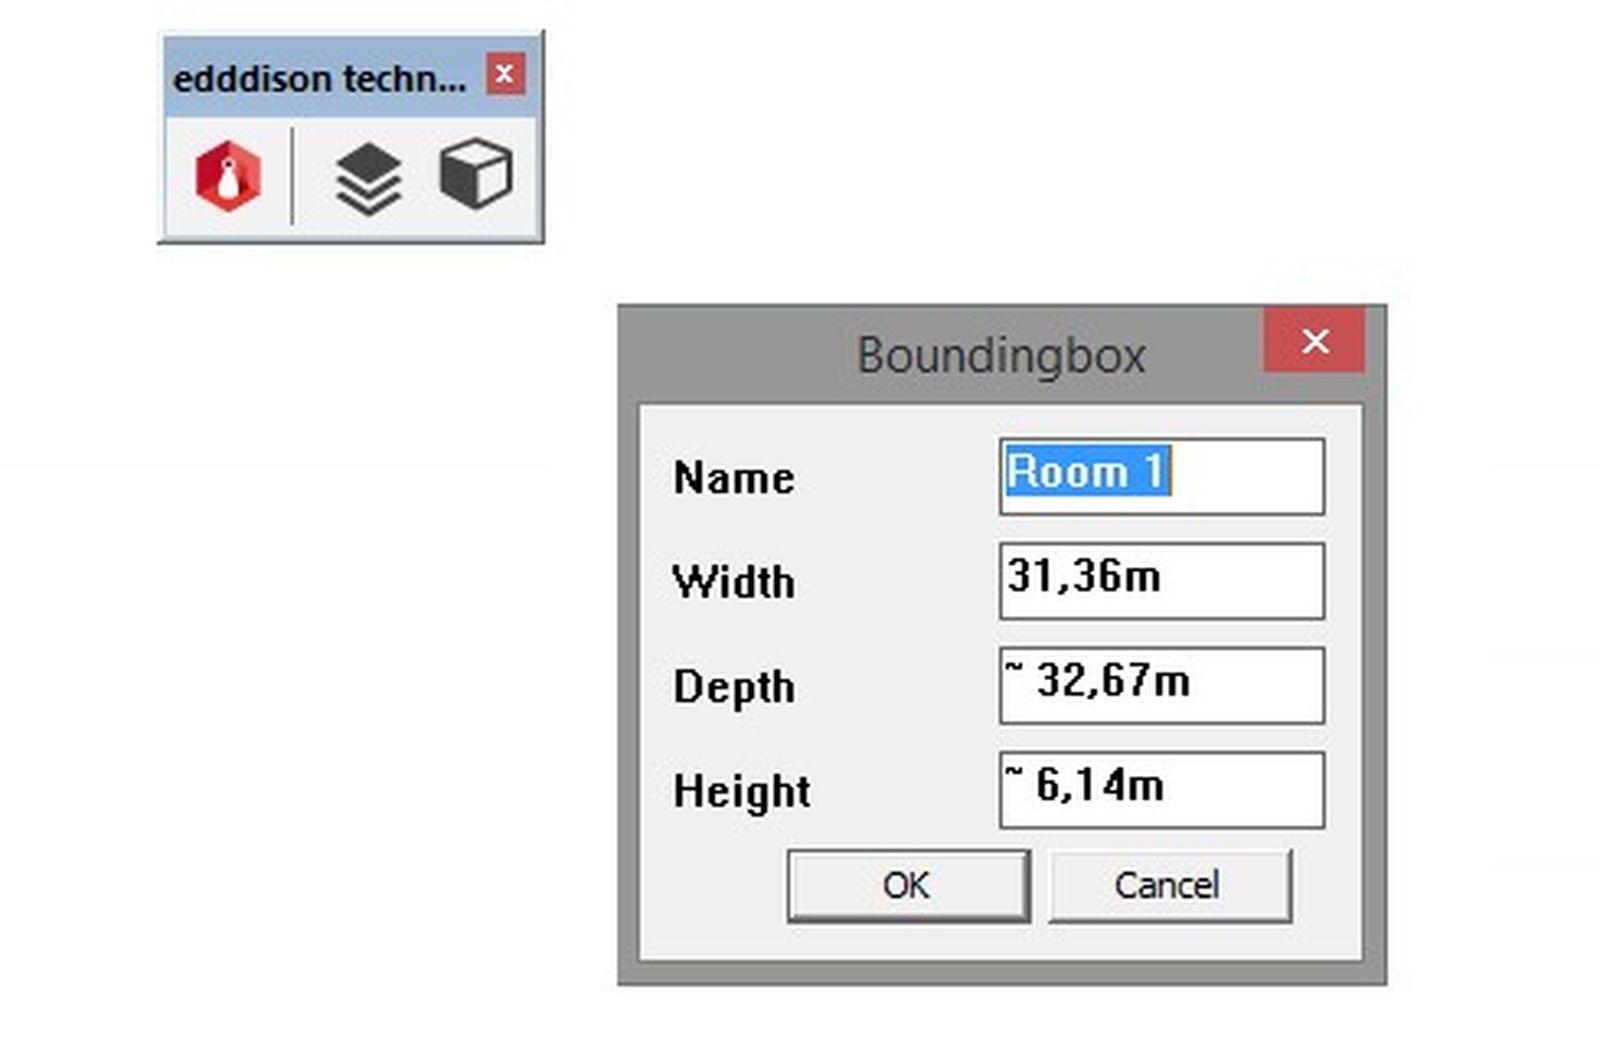
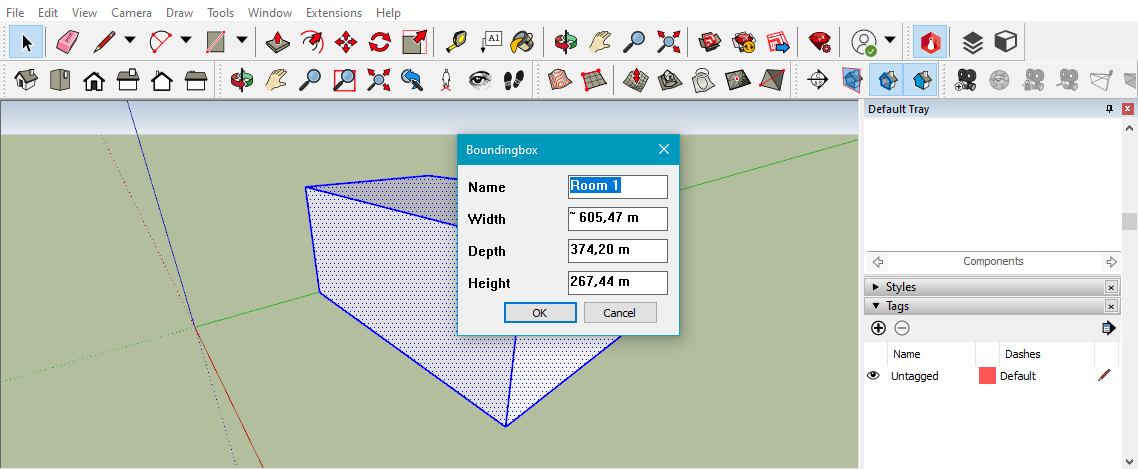
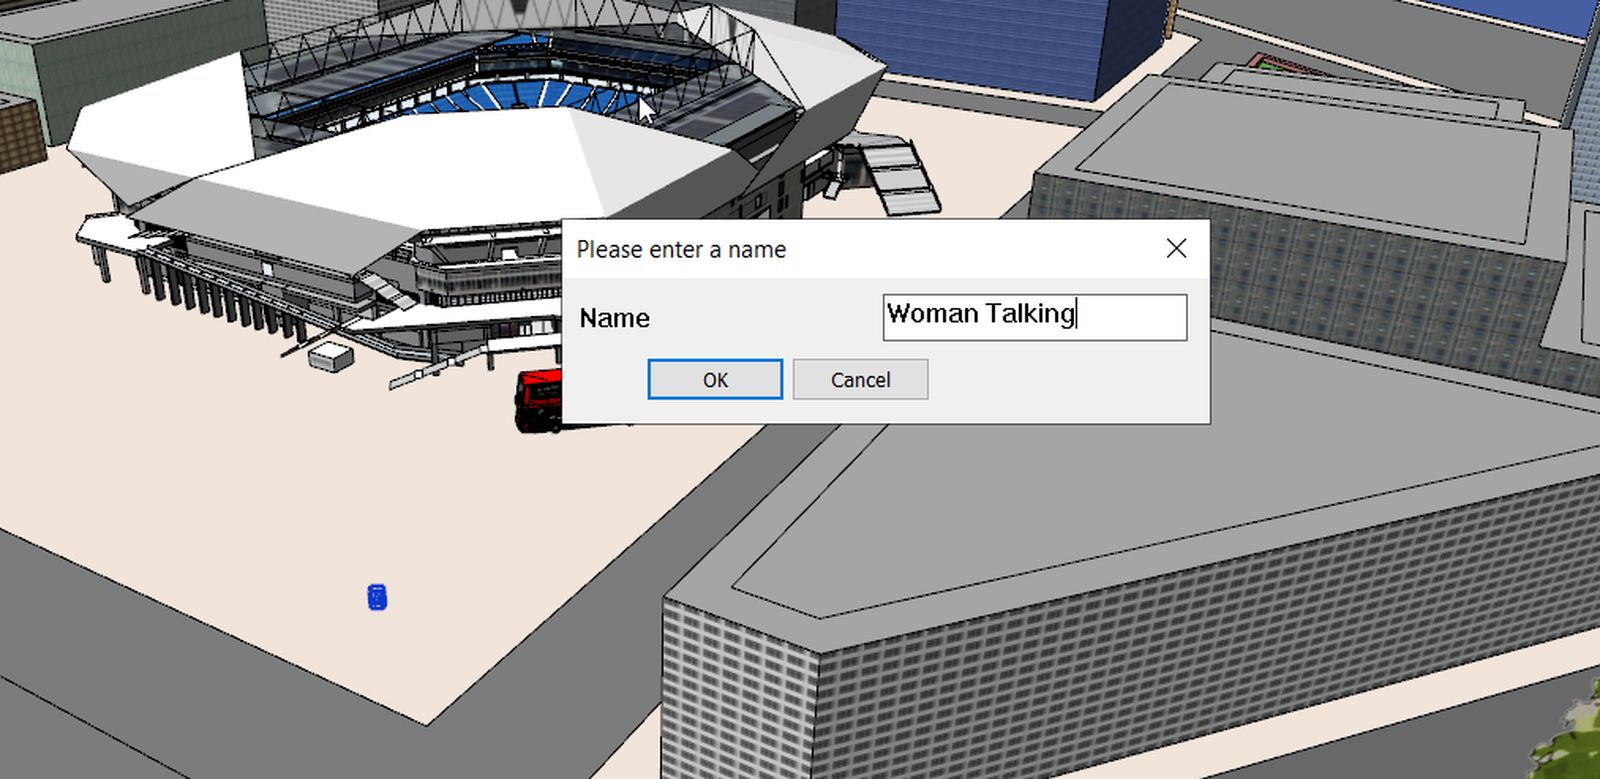
- Set the width, depth and height of the bounding box you want to create and define a unique name.
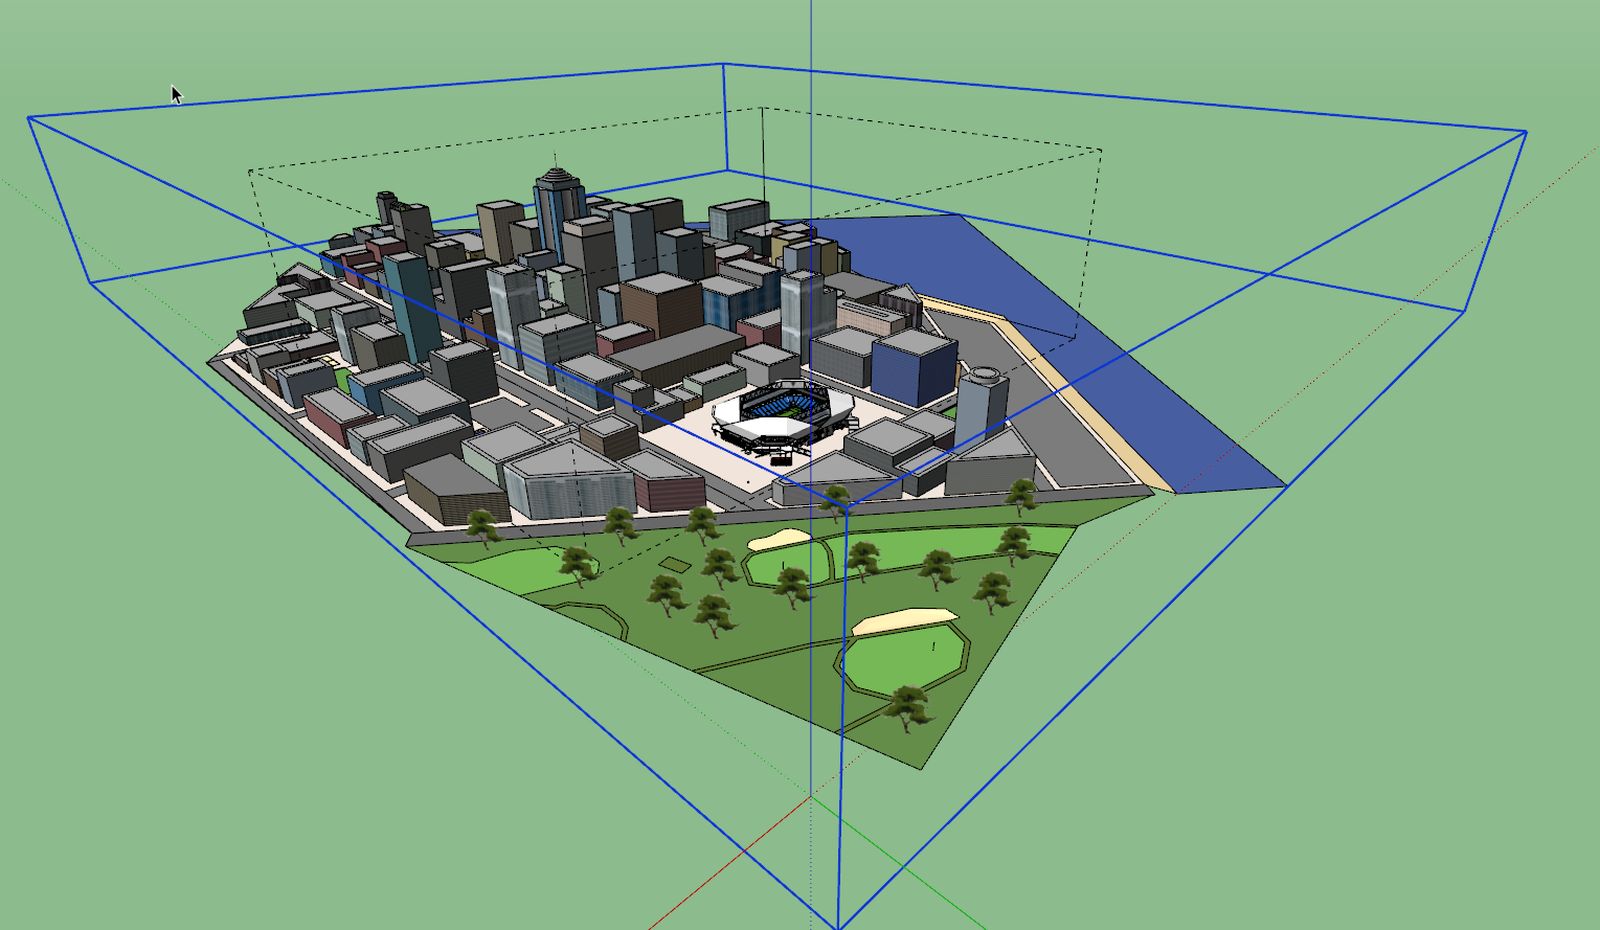
Clicking the OK button creates a new SketchUp object-bounding box, which can be moved and sized like other SketchUp objects.
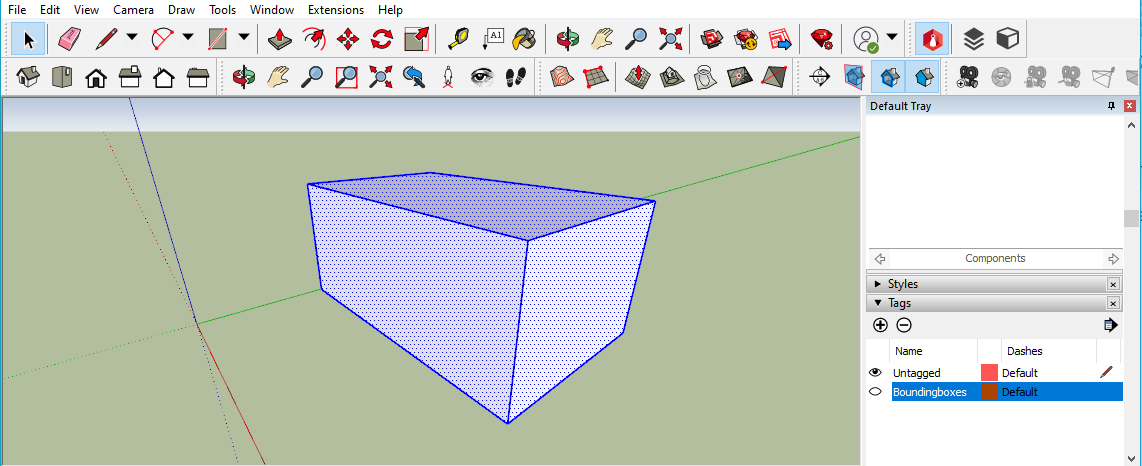
- Set its position and scale so it fits to your scene/walk-able area.
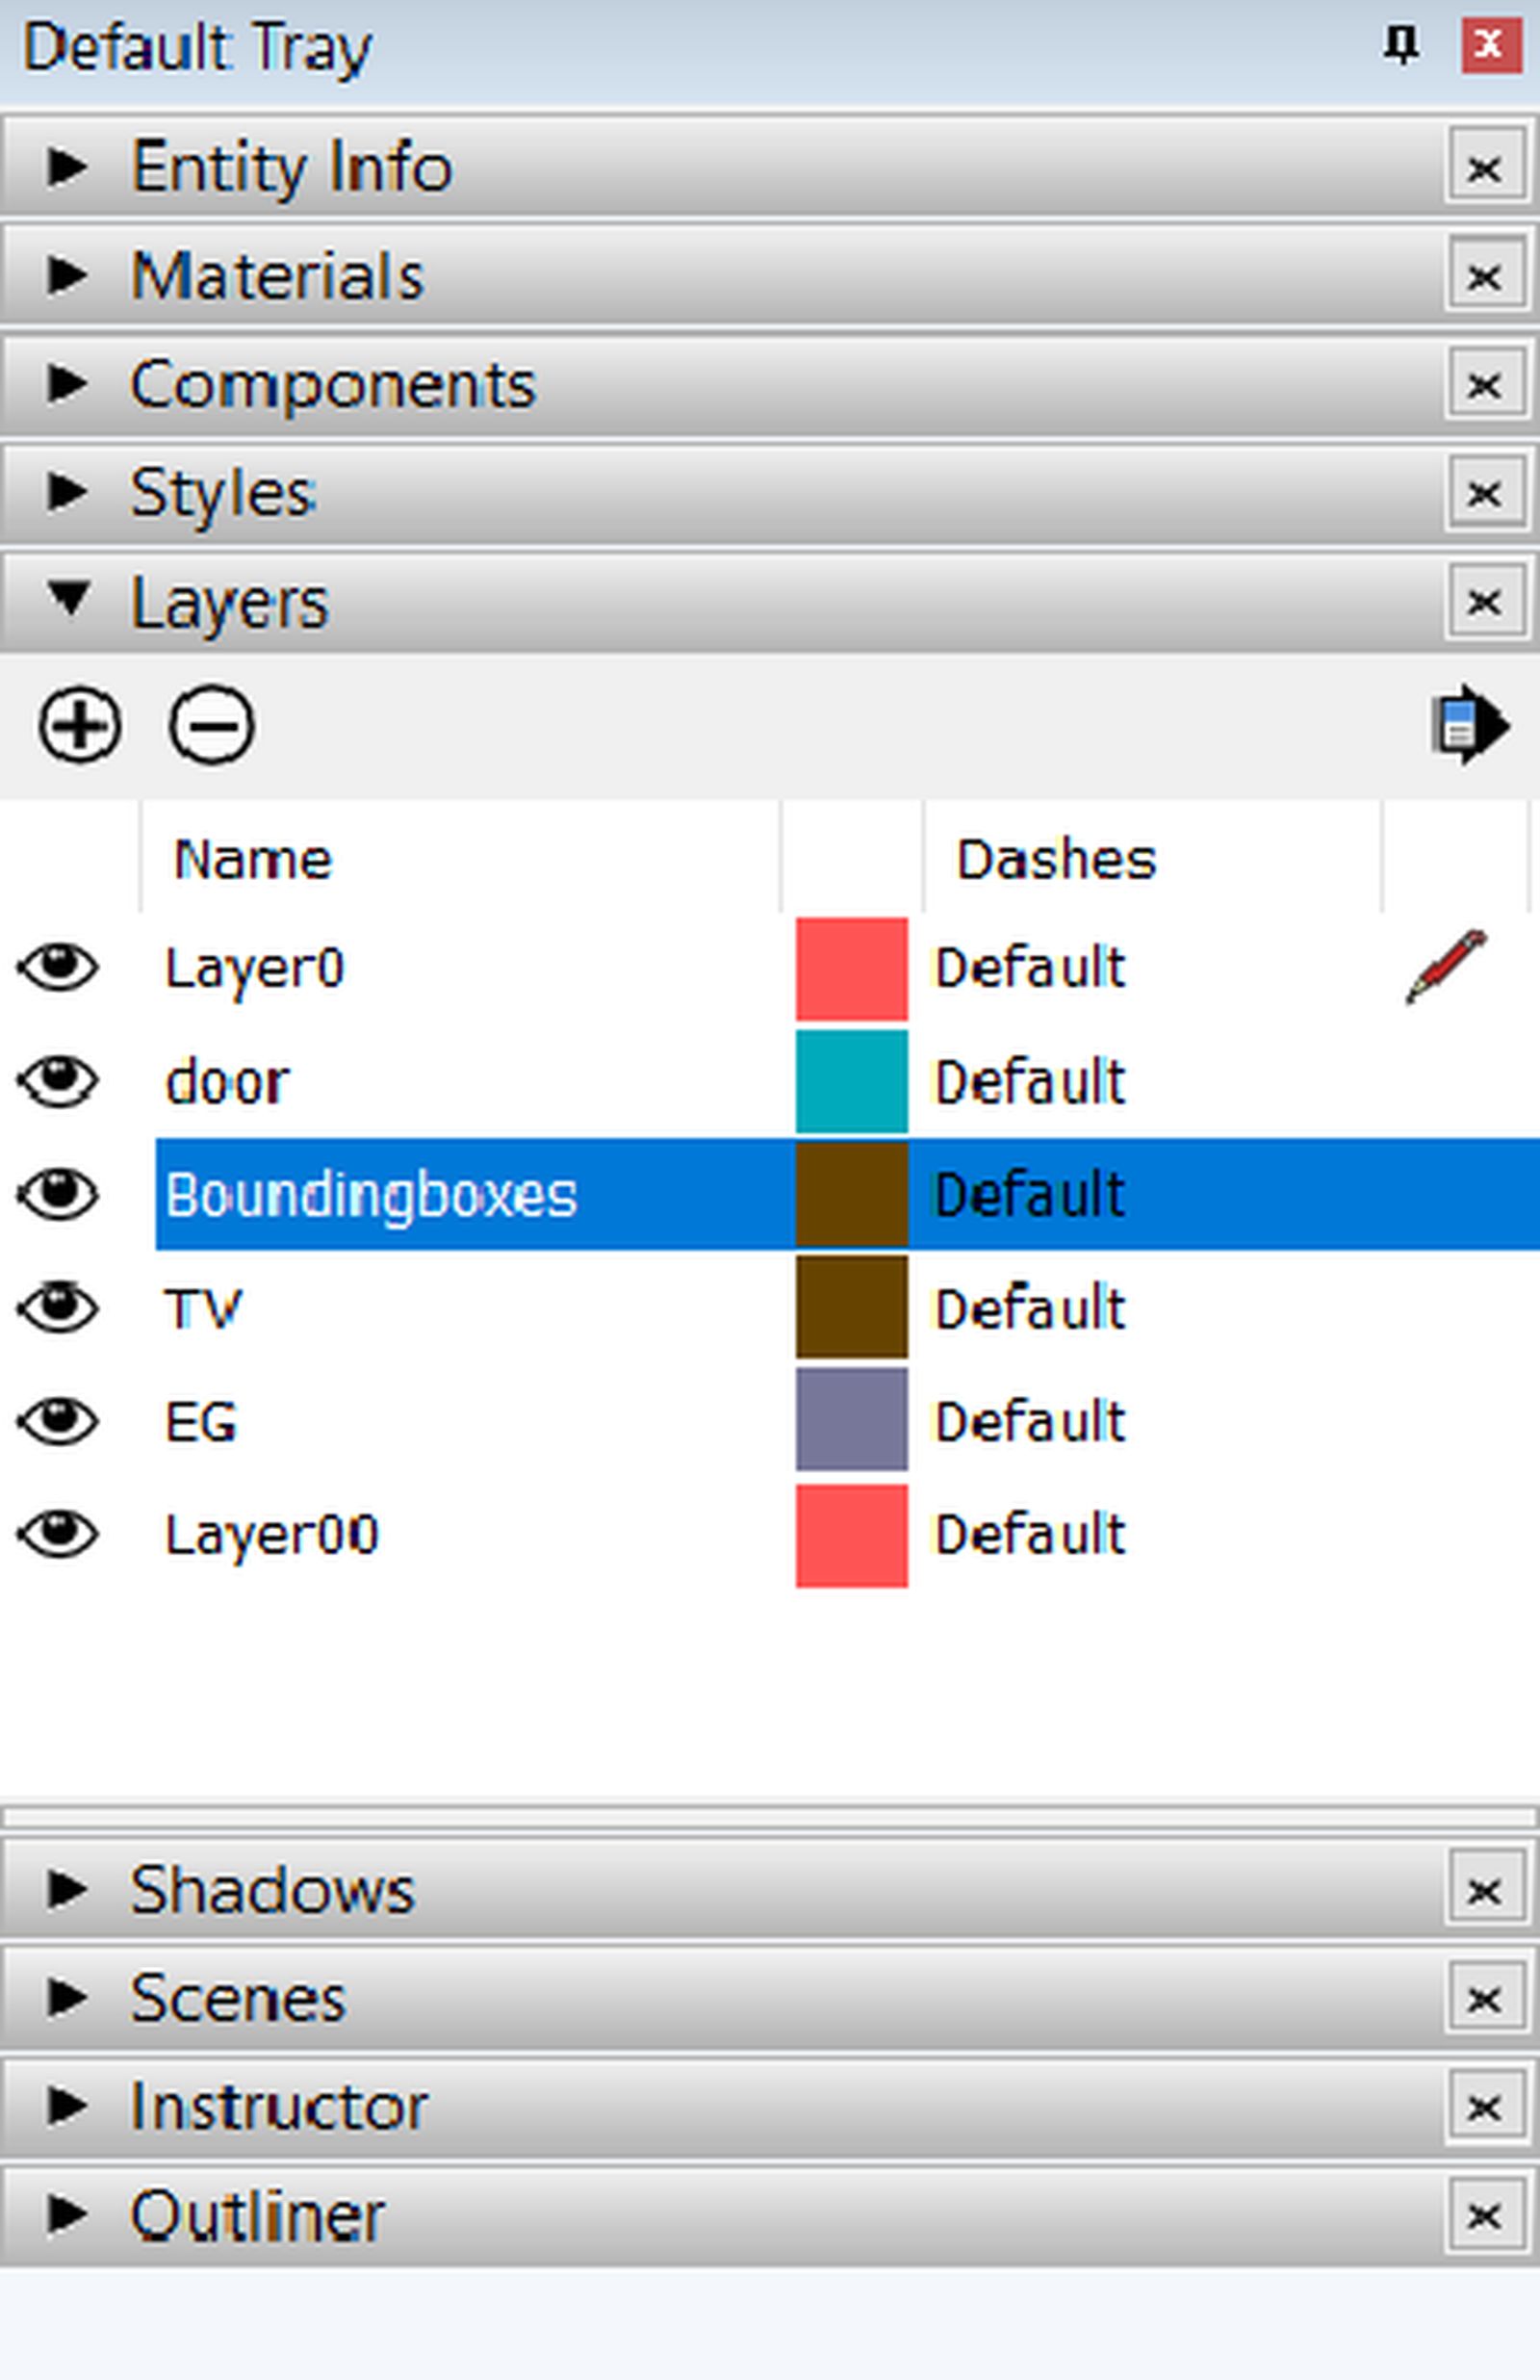
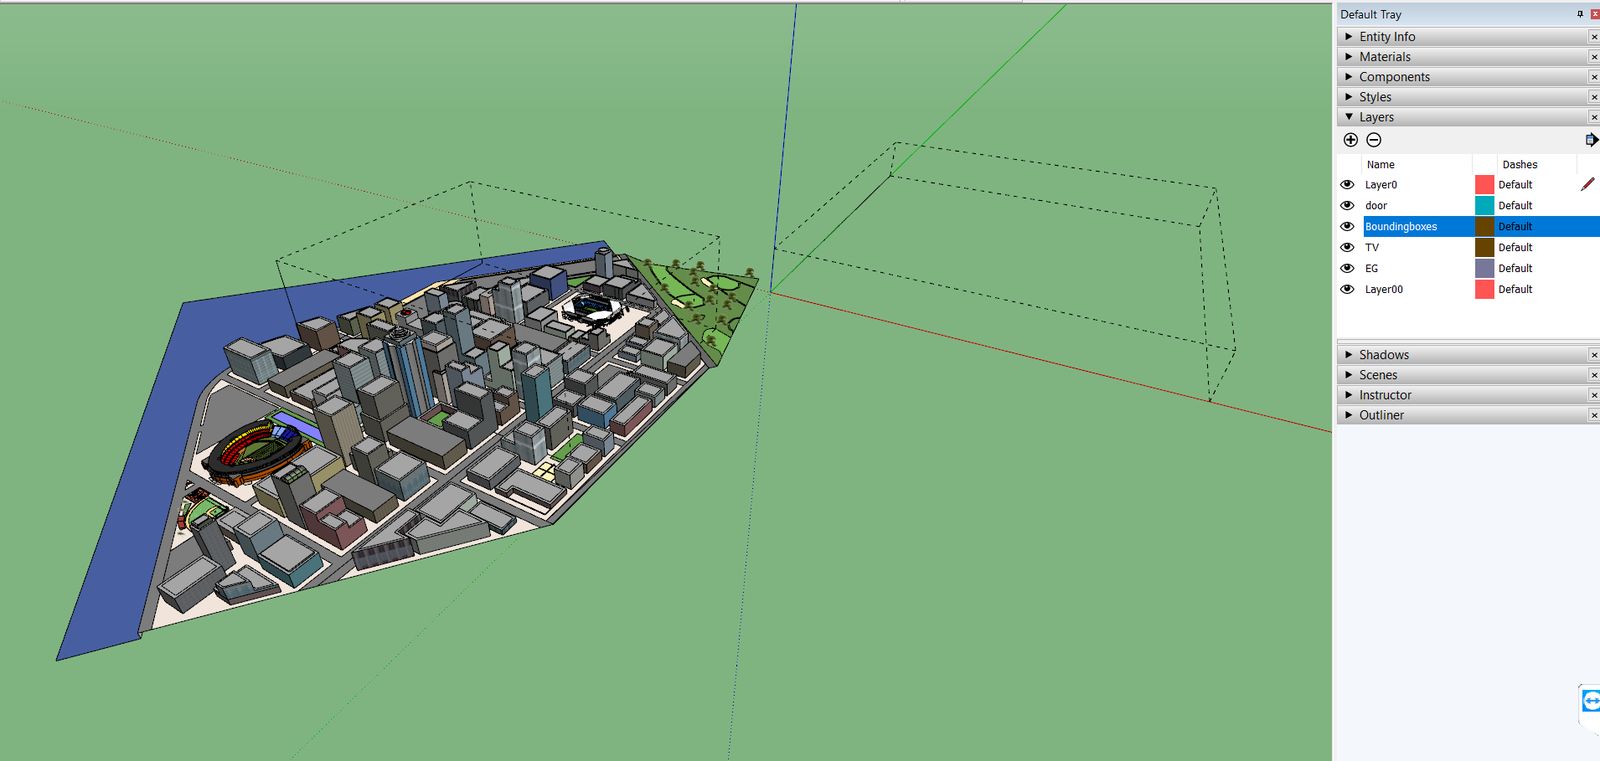
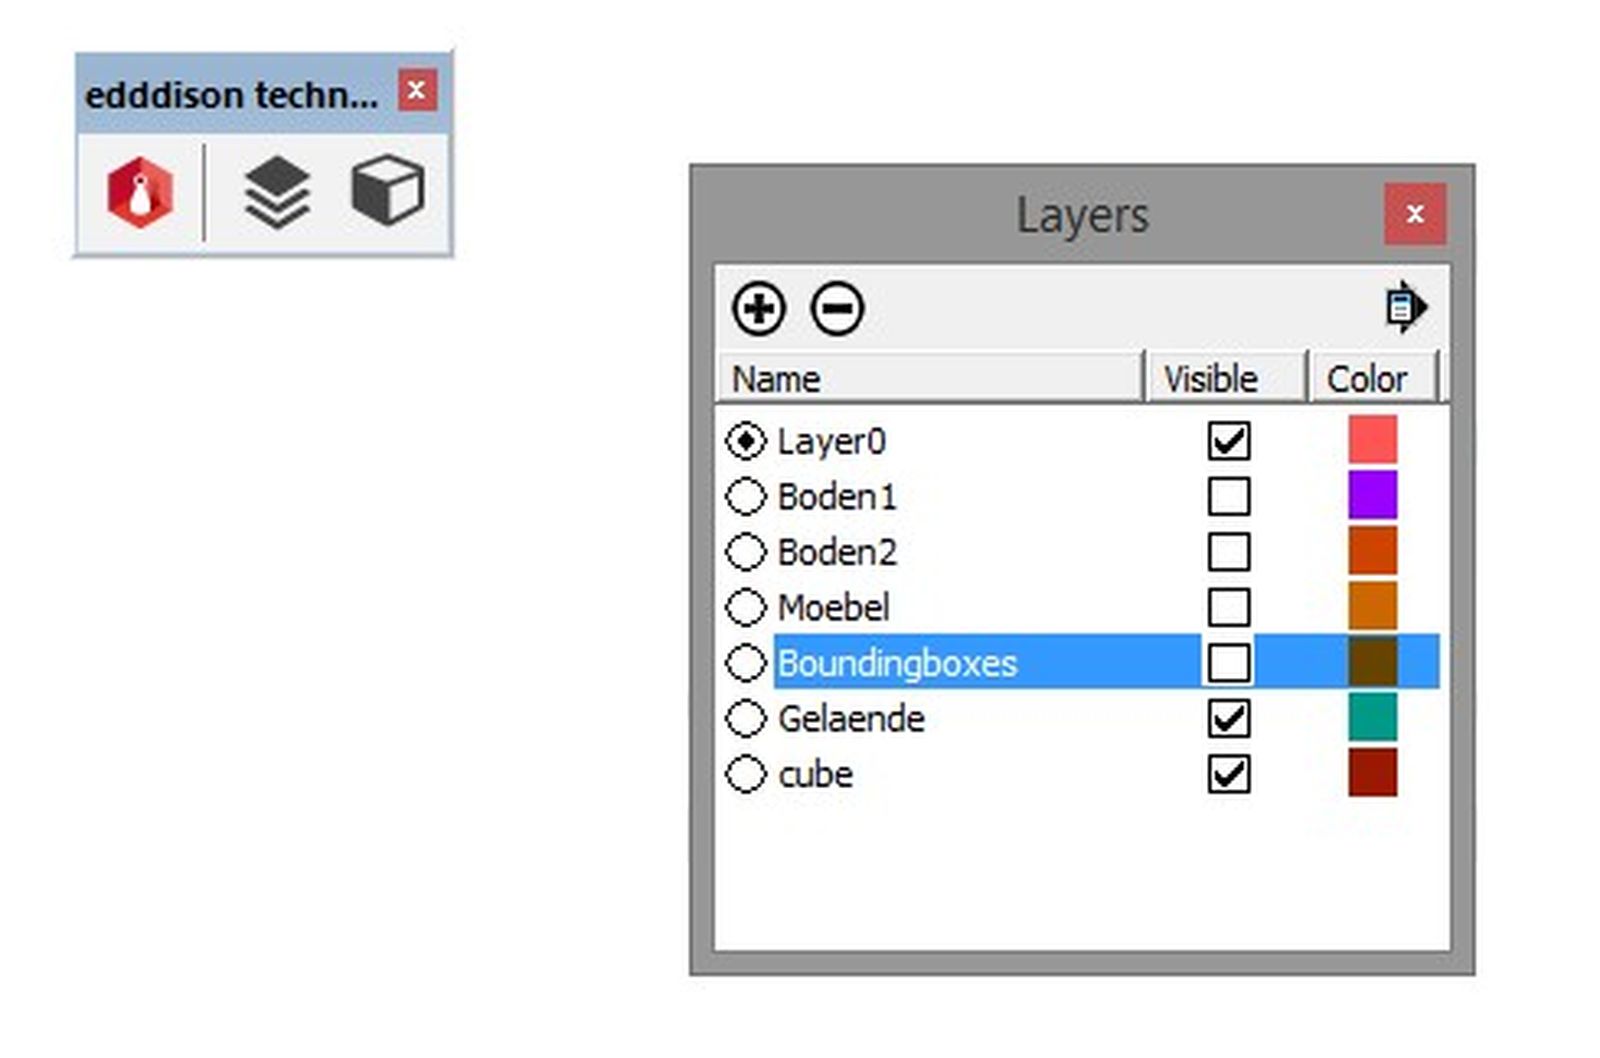
Note: If you cant see the bounding boxes, be sure to activate the Boundingboxes Layer/Tags in the Layer/Tags-Panel (ticking the eye-symbol).
Bounding box - Define by selecting existing object#
If rooms already exist, you can select the walls or floors of the room or area and edddison will then draw a bounding box from this information. The easier the geometry (e.g. a cube), the better the result.
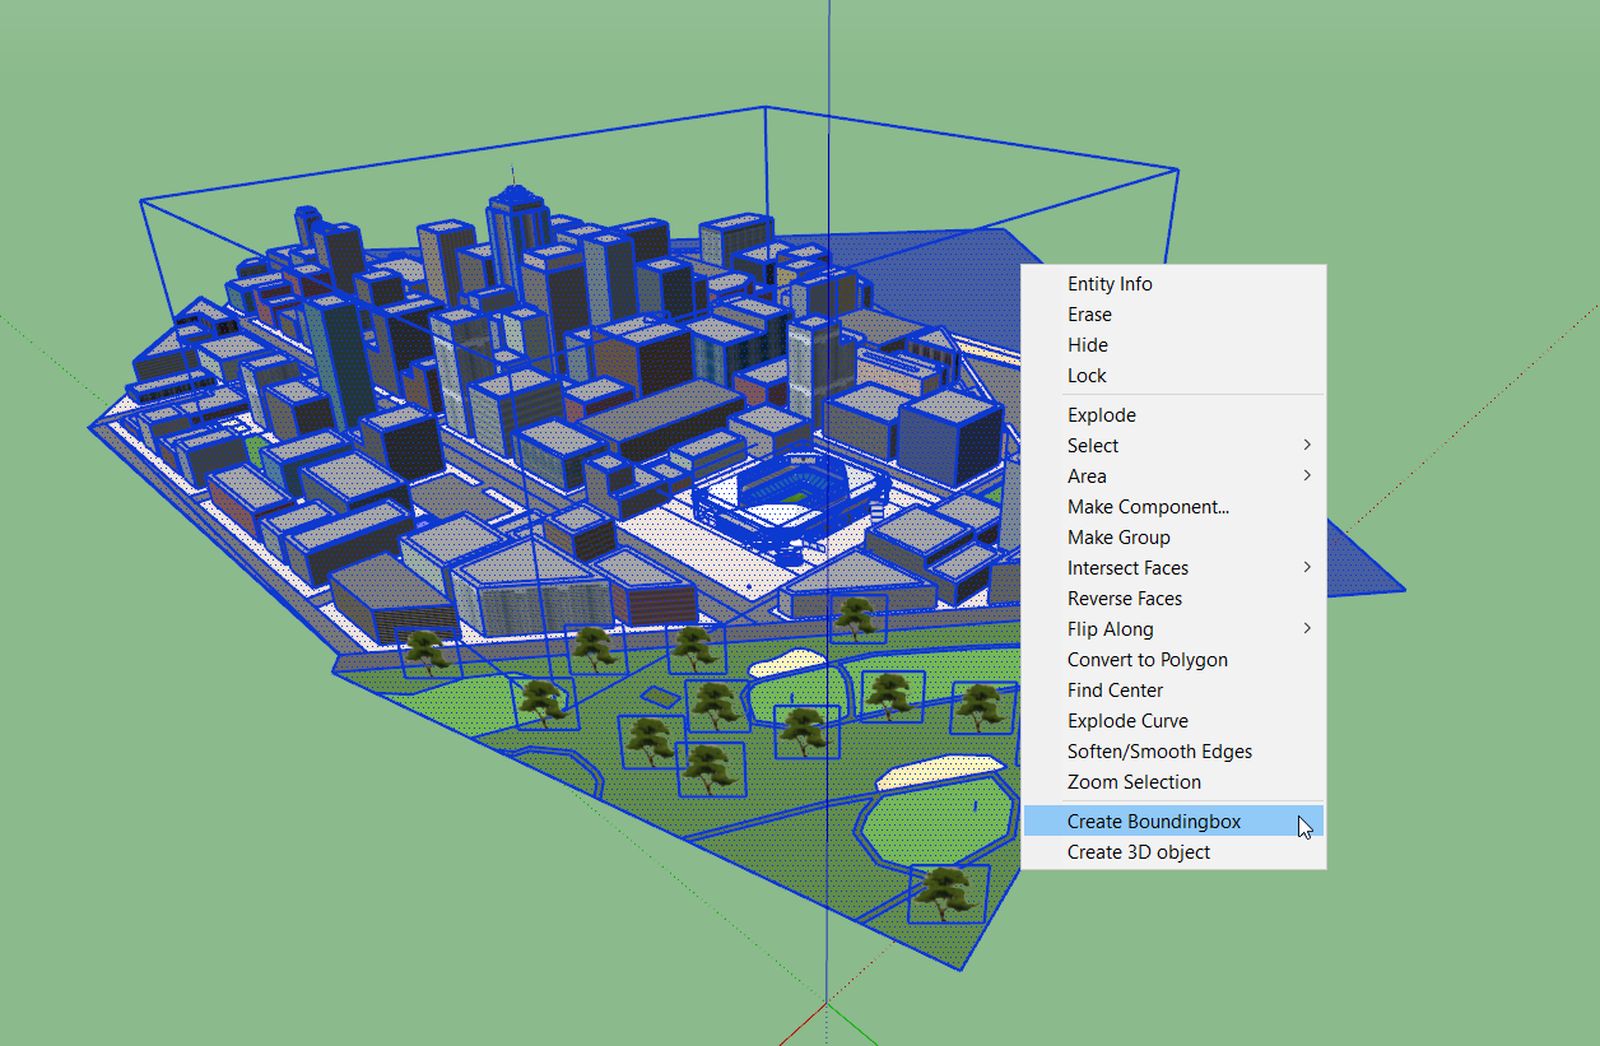
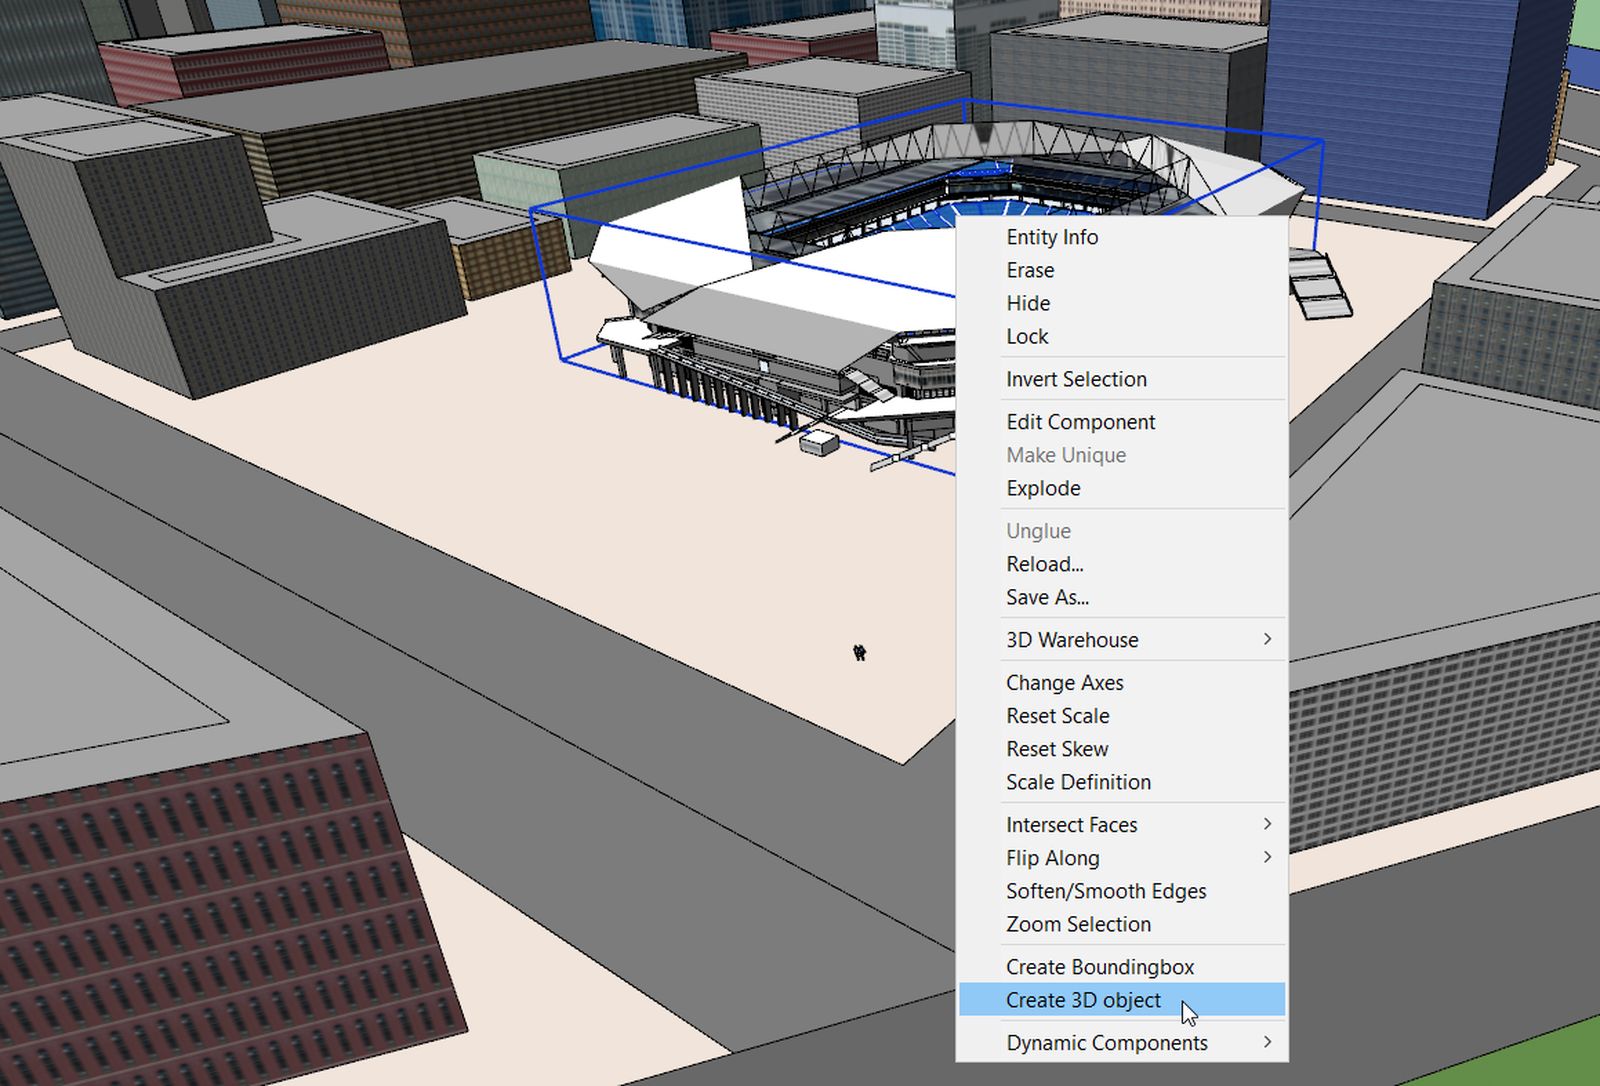
- Select all the objects that should be included in the calculation. Then right click on the selection.
- In the context menu, select Create Boundingbox
Bounding box - Define by selecting existing object#
Draw a bounding box:
- Use the 'Rectangle Tool' to draw the ground plane
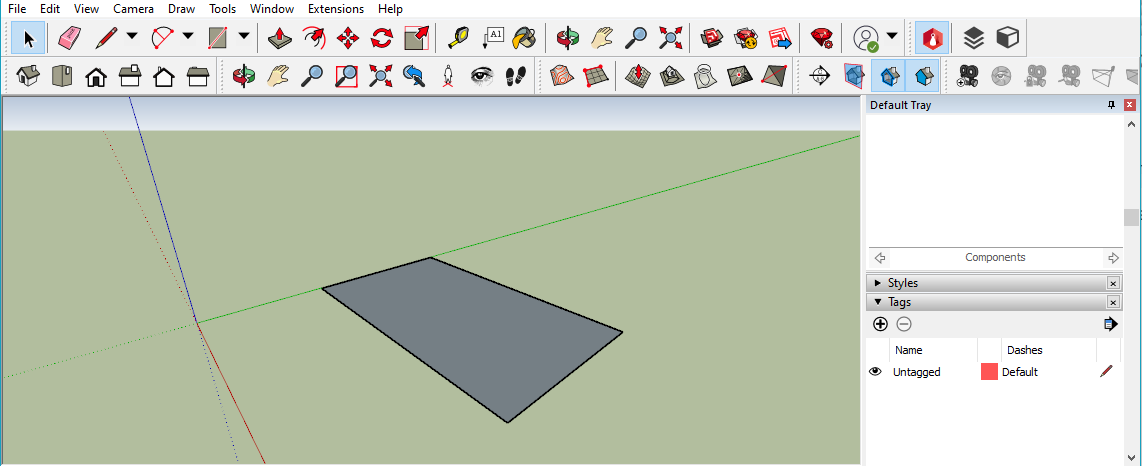
- Use the 'Push/Pull' tool on the ground plane to define the height of the bounding box
- Select the whole bounding box
- Click on the edddison 'Create Boundingbox' icon
- Dont change any width, height or depth, only the name of the bounding box.
- After the bounding box is created, the drawn box can be deleted. Ensure the Boundingboxes Tag is invisible before you delete the geometry. Otherwise the edddison bounding box gets deleted too.
-
Select the drawn box and delete it. To show the created edddison bounding box set the Boundingboxes Tag visible.
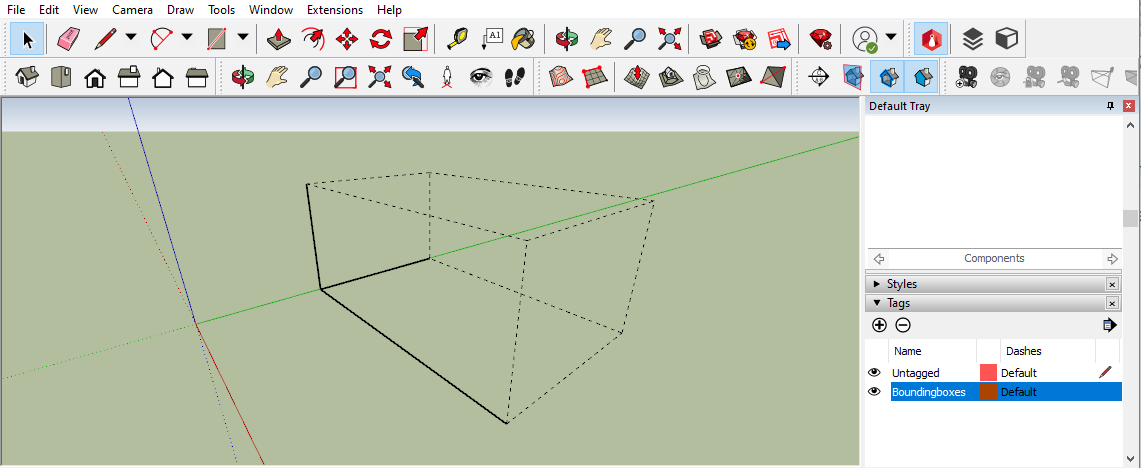
Note: If you cant see the bounding boxes, be sure to activate the Boundingboxes Layer/Tags in the Layer/Tags-Panel (ticking the eye-symbol).
Note: Once you have finished creating the bounding boxes, you can hide them by unticking the Boundingboxes Layer/Tag.
Create a Floor Plan#
A floor plan (2D top view) is needed for easy and precise orientation in the 3D view.
- Create an image (.jpg, .jpeg or .jpg) and use it as a floor plan. You can do this with a screen-capture software like the in-built Snipping Tool of Windows. To learn more about the Snipping tool click here
Note: The image has to have exactly the same size as the corresponding bounding box.
How to aligh screenshot in Sketchup:
- Click in the menu "Camera ->Parallel Projection"

Note: In older versions the option can be found in the menu "View".
- Click in the menu "Camera -> Views" and click "Top"
- With the Mouse wheel and the Pan-Tool zoom and move the camera until your bounding box fills almost the whole screen.
Note: You can see the bounding box better if you you select her (blue rectangle).

- Use the Snipping tool to make a screenshot, only snipping the blue bounding-box-area.
- Save the screenshot for later use as floor plan.
Manage 3D objects (optional)#
A 3D object linked with edddison can:
- be moved around in edddison
- switched on or off
- be a target for the POV-Camera.
All Sketchup Objects (Groups/Components) can be used as movable or stationary objects.
Link the edddison 3D object#
- Select the Sketchup Object (Group/Component) you want to convert.
- Right-Click to open the context menu
- Select Create 3D object
- In the popup enter the name you want to see later in the edddison editor (software).
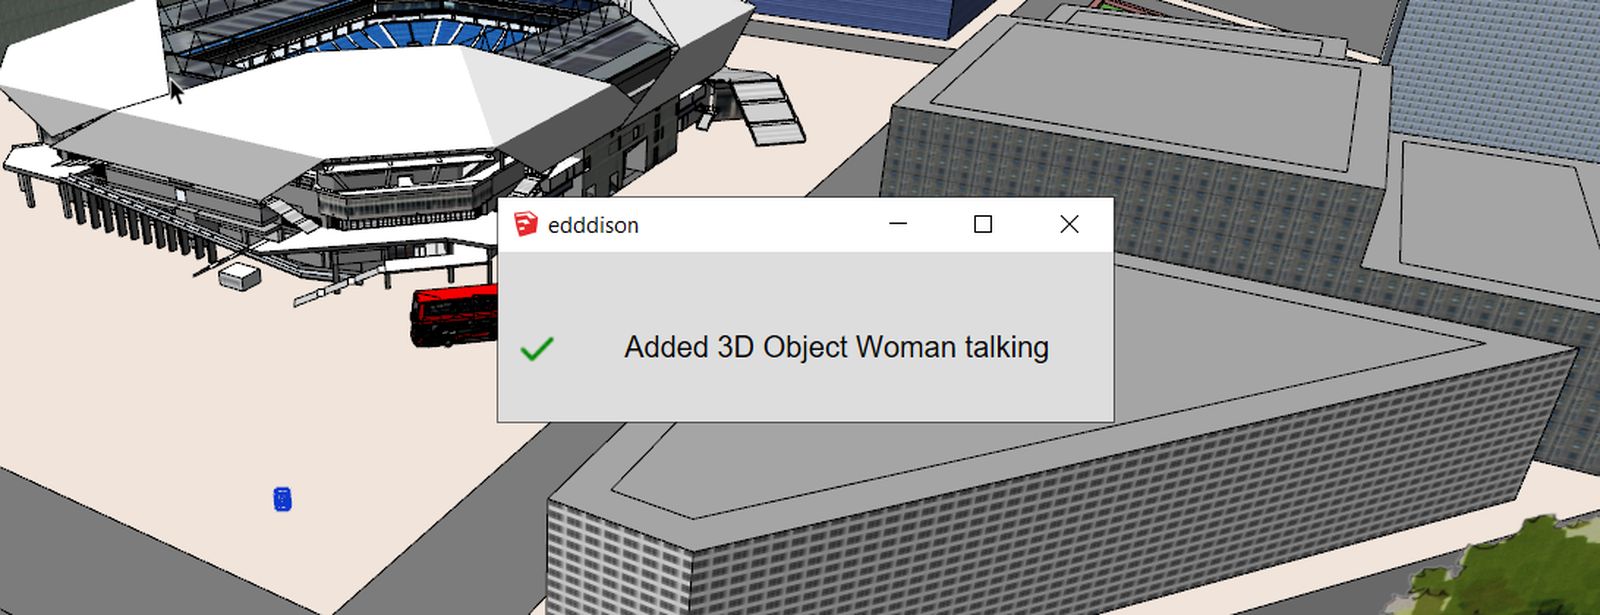
- You will see a popup telling you that the object was added successfully to edddison.
Alternatively you can also select your Sketchup Object and click the "Create 3D Object" Button in the edddison toolbar.
Note: Objects must be grouped or components to be used as model objects.
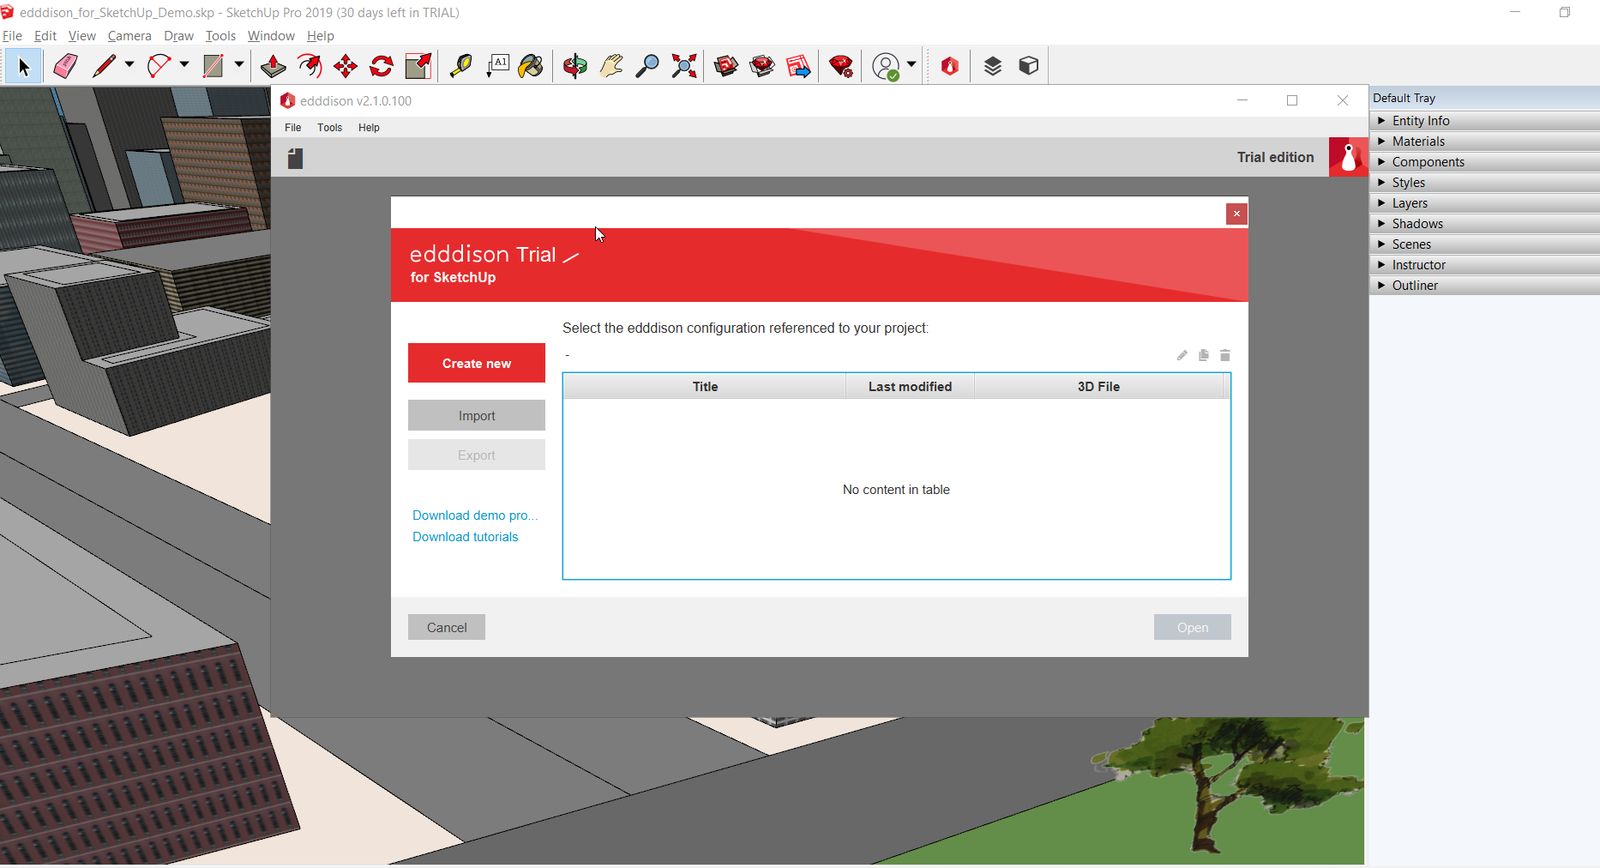
Run project#
To test your project click the red edddison-button in the edddison toolbar.
You will see the edddison editor-software starting in a separate window.
Please continue to set up your project in the edddison editor-software. Follow the Tutorial Editor
Note: edddison has to be always started inside Sketchup, there will not be a shortcut on your desktop.
Troubleshooting#
- If you dont see the edddison editor opening, see if you installed the Software "edddison editor for sketchup" correctly. Please login on edddison.com to access this link