Floor plan on keyboard (notebook)
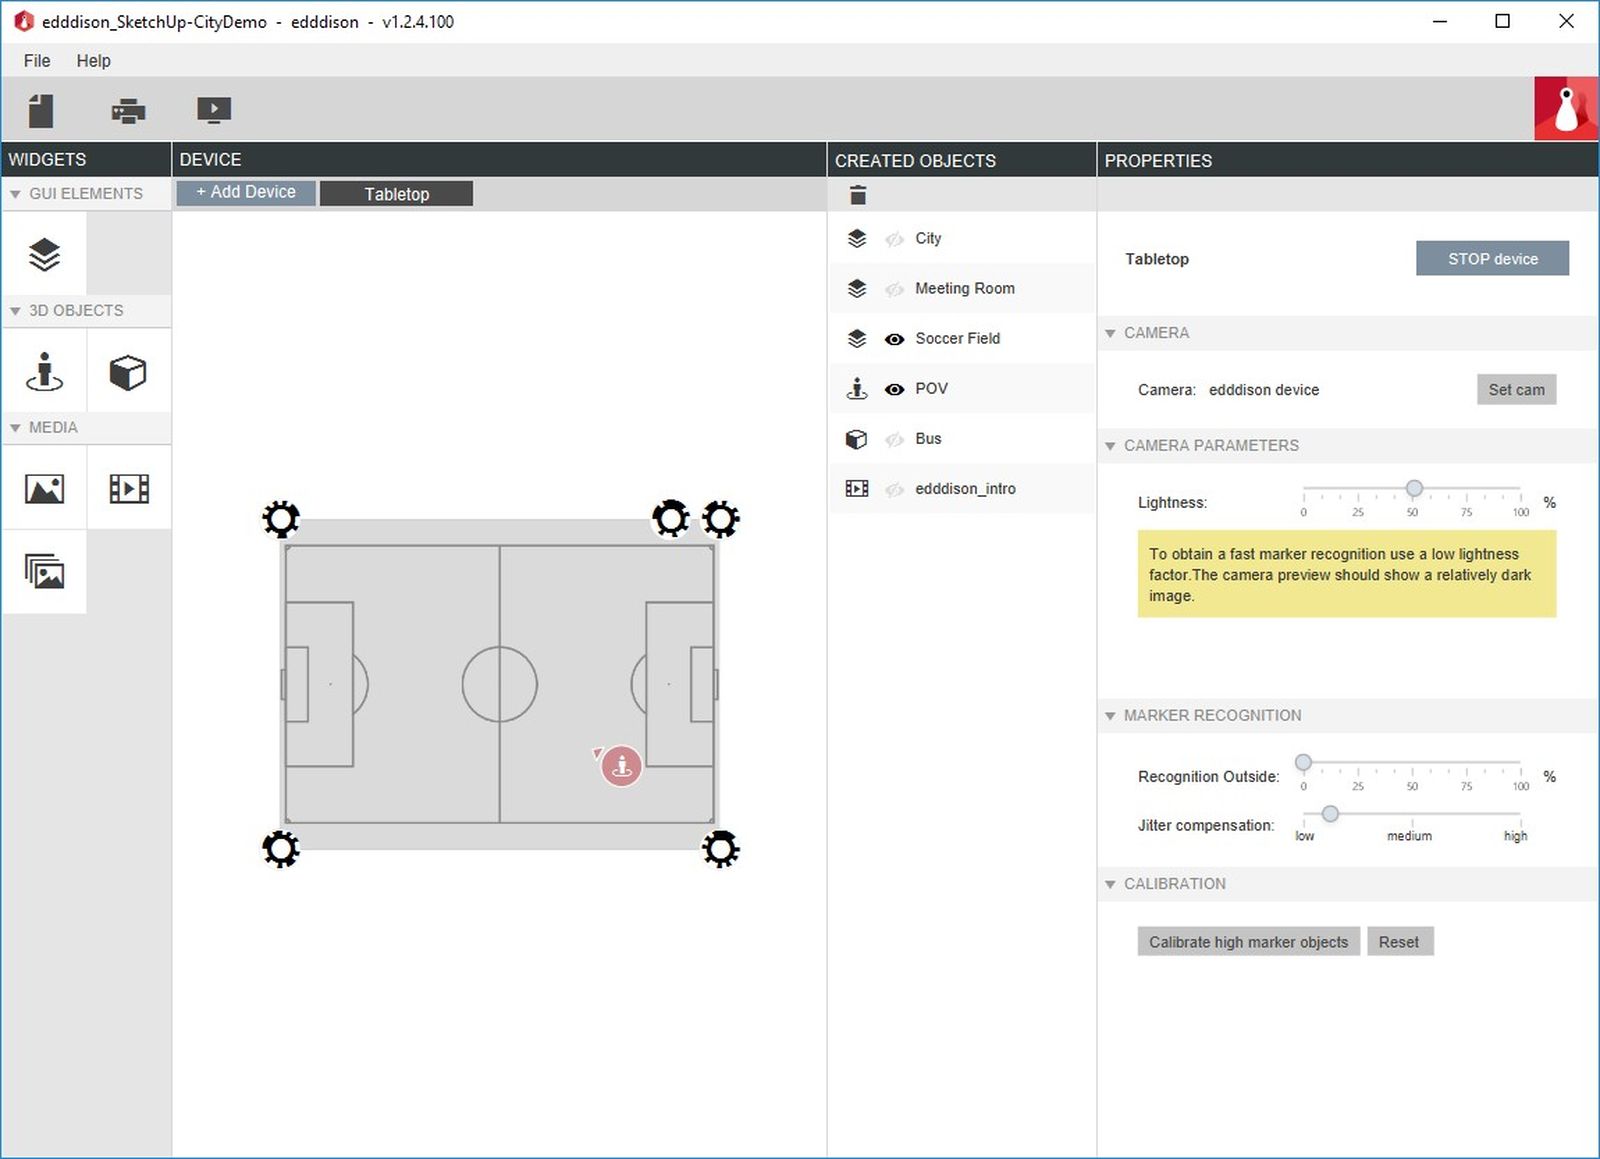
edddison tabletop gives you the possiblity to control your 3D Model with tangible objects on a floor plan. For more information about the edddison hardware options please visit: edddison Hardware Controllers
If you want to be even more flexible and dont want to carry large amounts of hardware with you, maybe the notebook-solution is for you! Print your floor plans on a cardboard and put them on top of your notebook keyboard! With an addditional webcam on top of the screen you are ready to go! Super compact!

Getting Started#
The set-up of edddison tabletop for notebook is very easy and can be done with just a few hardware tools:
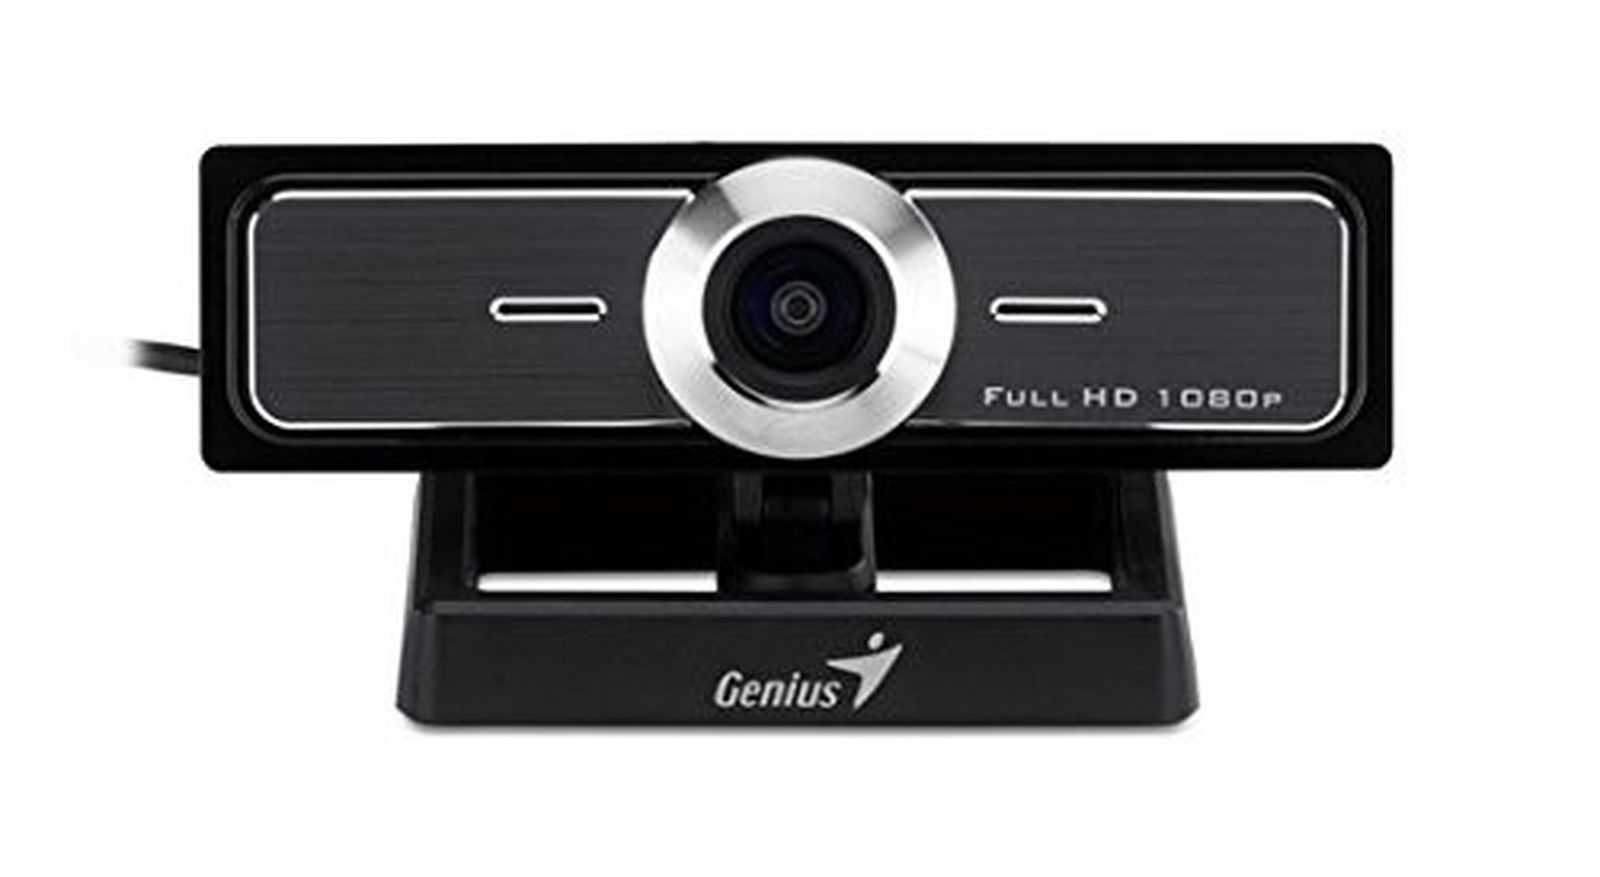
- wide angle webcam like the Genius Full HD 1080p
- A4 printer or bigger to print the object markers and floor plans
- Tangible objects 3D-printed, laser-cutted or any other object that is available, e.g. toys
- Presentation screen - e.g. your laptop monitor
- Laptop running 3D software and edddison. See Getting Started.
Follow the tabletop tutorial#
This tutorial is just an addition to the tutorial edddison for tabletop. Please follow the main tutorial first.
Floor plans#
Floor plans help you to navigate in the 3D scene. Every floor plan has a unique ID, represented by a object marker. This makes it possible to jump between floor plans by exchanging them physically.
You can export them together directly from edddison.
These floor plans will later be printed onto a stiff base.
Prepare your project#
To use edddison to present your project, you first have to prepare it in your 3D software and in the edddison editor. Please refer to Getting Started for more information.
When you followed our tutorials to setup your 3D project for edddison you should already have at least one floor plan in your edddison editor. Please refer to Getting Started for more information
Print Floor plans#
- In the edddison editor select the Print plans and markers icon. (Printer-icon on the top left)
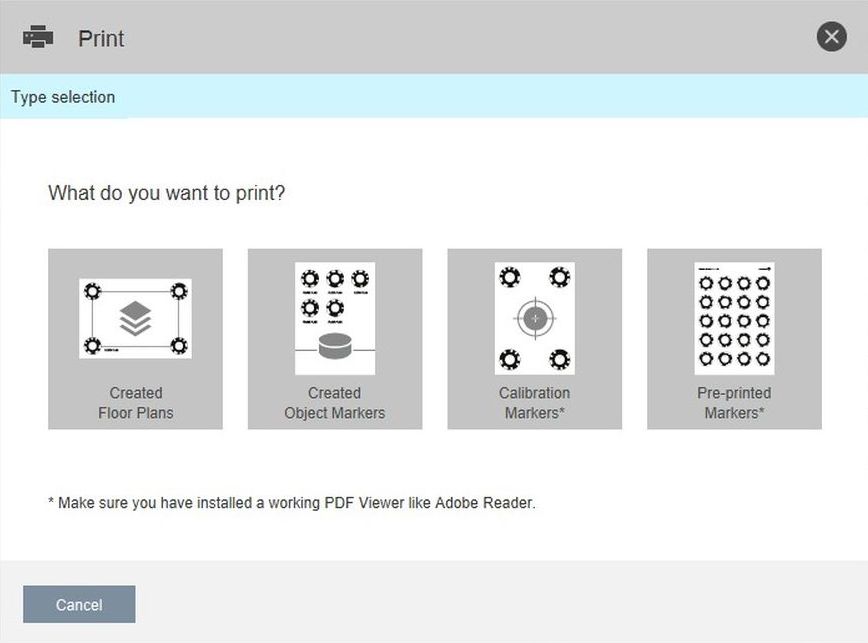
- Select Created Floor Plans
- Choose the floor plans you want to print
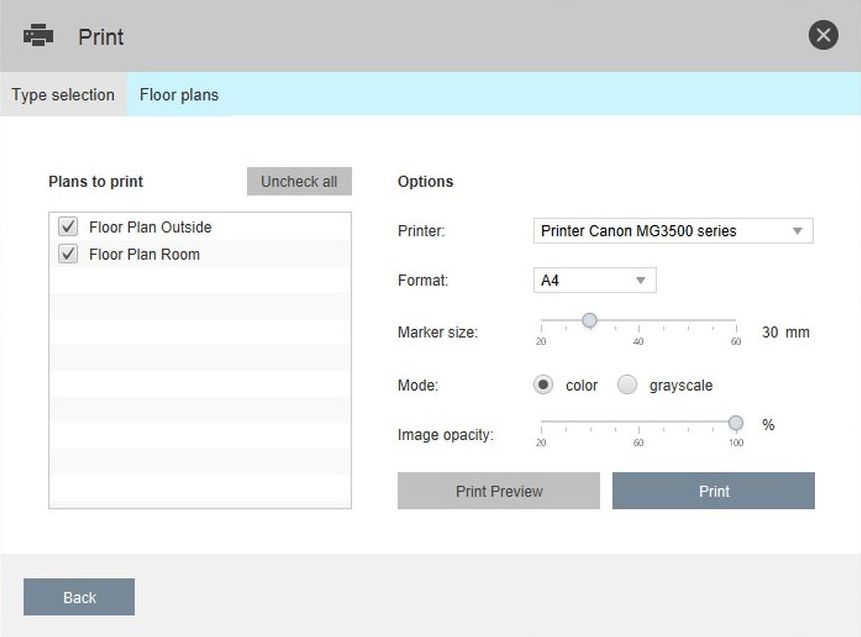
- Select printer and paper format
- Marker-Size: This is a advanced setting, which only needs to be adjusted if your markers are not getting recognised correctly (camera too far away, etc.) Please refer to the chapter "Marker Sizes" further down in this tutorial.
- Mode: Choose if you want to print color or grayscale floor plans
- Image Opacity: To give more focus on your 3D objects or if the colors of your floor plan are too vivid you can change the Image Opacity of the floor plan.
- Select Print Preview to review your settings
- Print Markers
Note: If you want to print your markers from a different PC or at another time you can click. Click "Print Preview" and save as PDF.
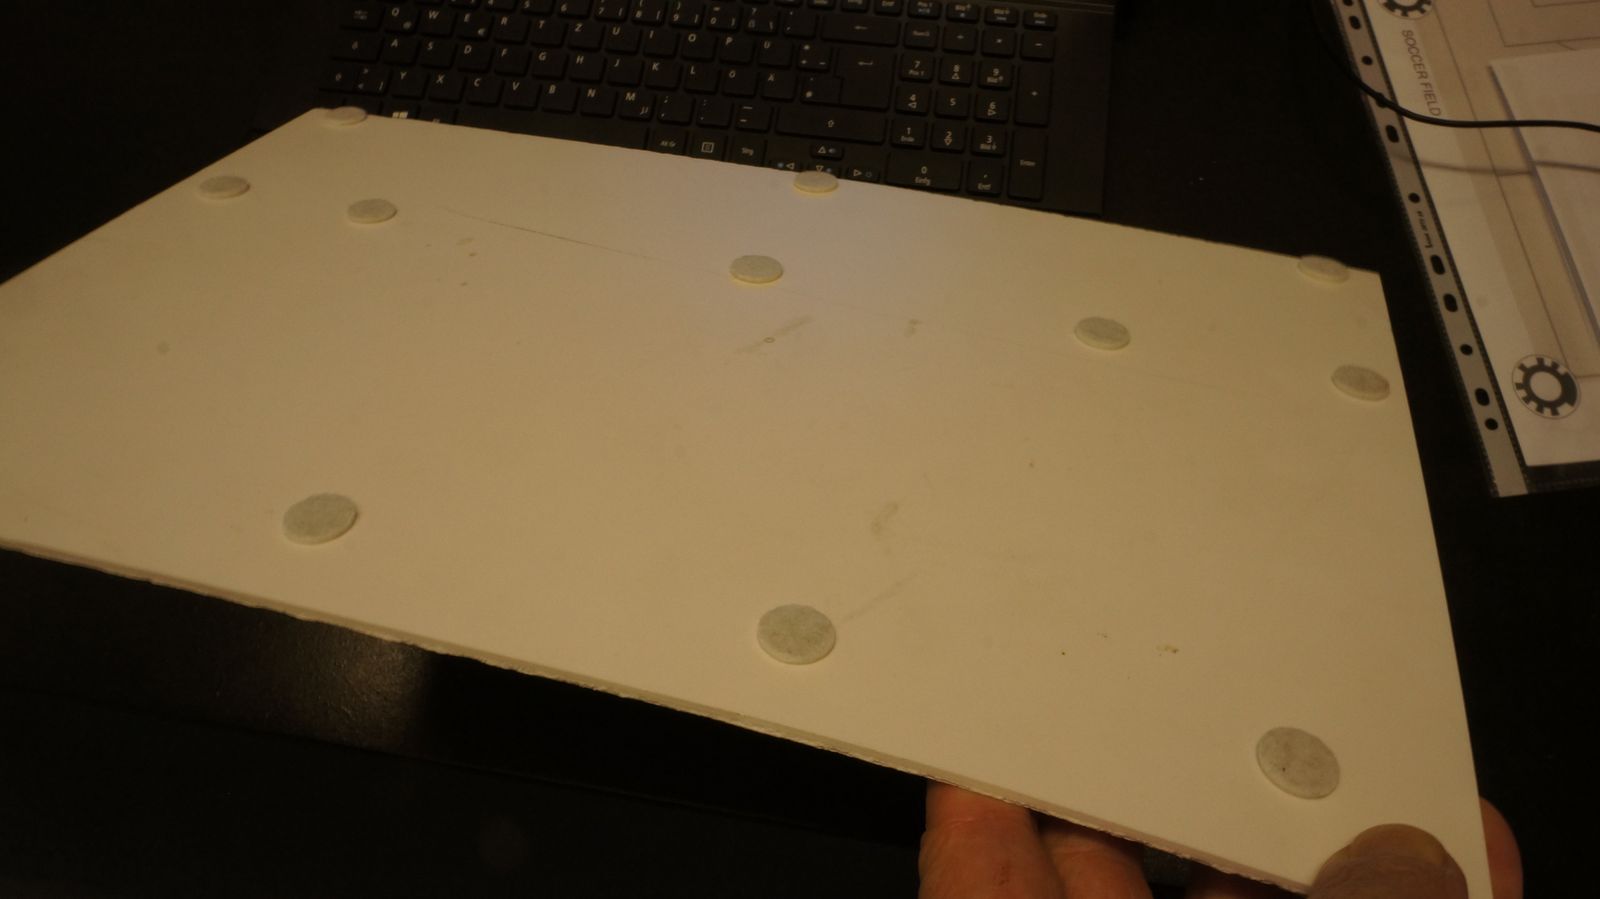
Stiff Board + bases#
-
Fix your printed plans on a stiff board with small bases underneath (to prevent keys to be pushed, see picture below).
-
Place it on top of the keyboard.
Use a wide angle webcam#
For edddison to be able to see the full floor plan it is advisable to use a Wide angle webcam , like the Genius Full HD 1080p.
Finished!#
You can now use the super compact edddison for notebook solution!